Making homemade chocolate is a delightful way to indulge in a sweet treat while also enjoying a creative process. To make delicious homemade chocolate, all that’s needed are a few simple ingredients like cocoa powder, sugar, and cocoa butter. This easy recipe opens the door to endless customization, allowing anyone to tweak flavors, sweetness levels, or even add extras like nuts and spices.
Imagine the satisfaction of whipping up a batch of chocolate in your own kitchen. It’s a fun activity for families, couples, or anyone looking to impress friends with a personal touch. The rich, comforting aroma that fills the house can turn a regular day into something special.
Whether it’s for a holiday gift, a party, or just a treat for oneself, homemade chocolate is a fantastic choice. With just a bit of time and the right ingredients, anyone can create something truly special.
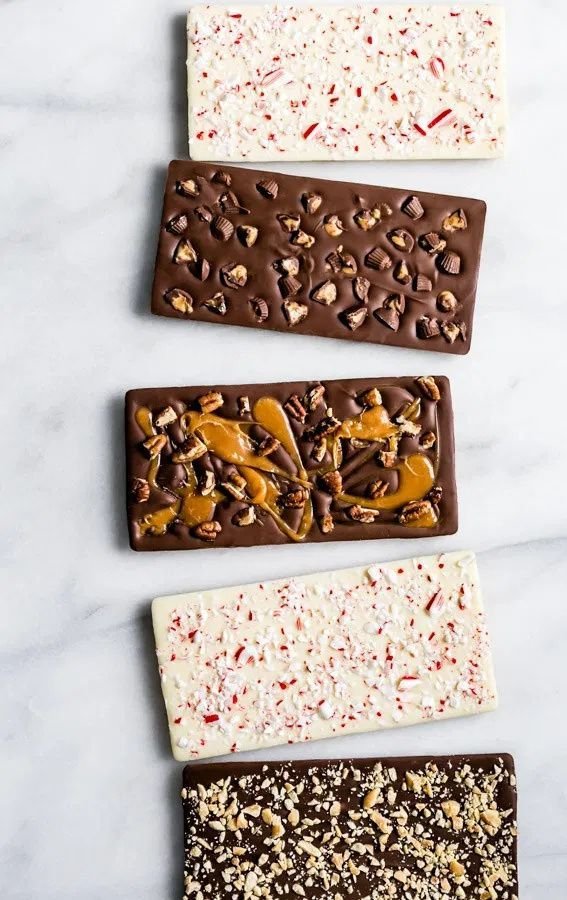
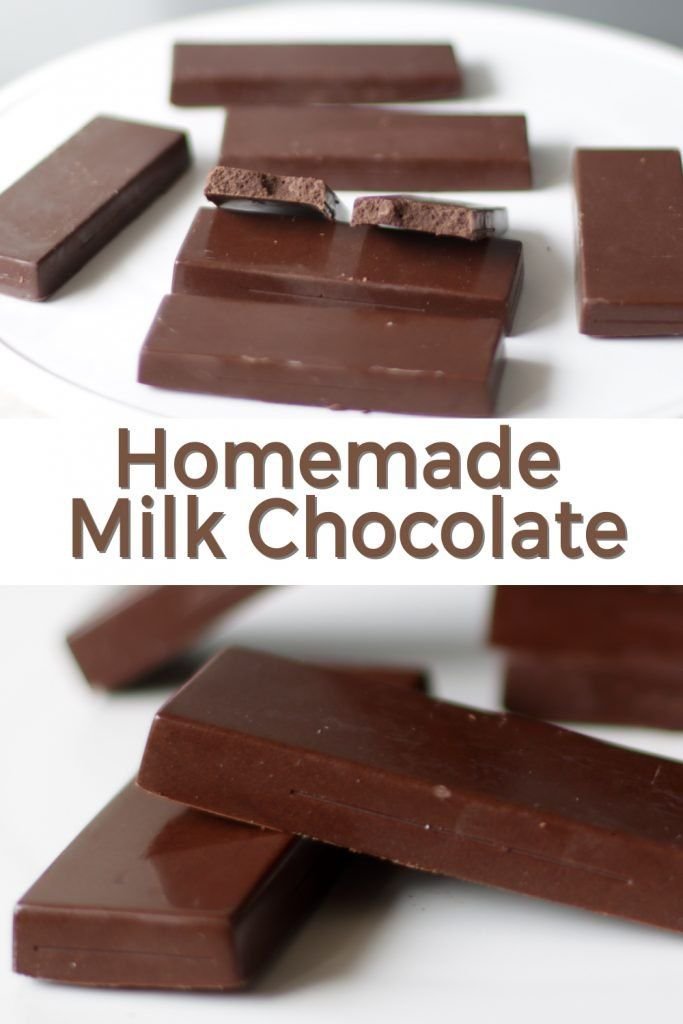
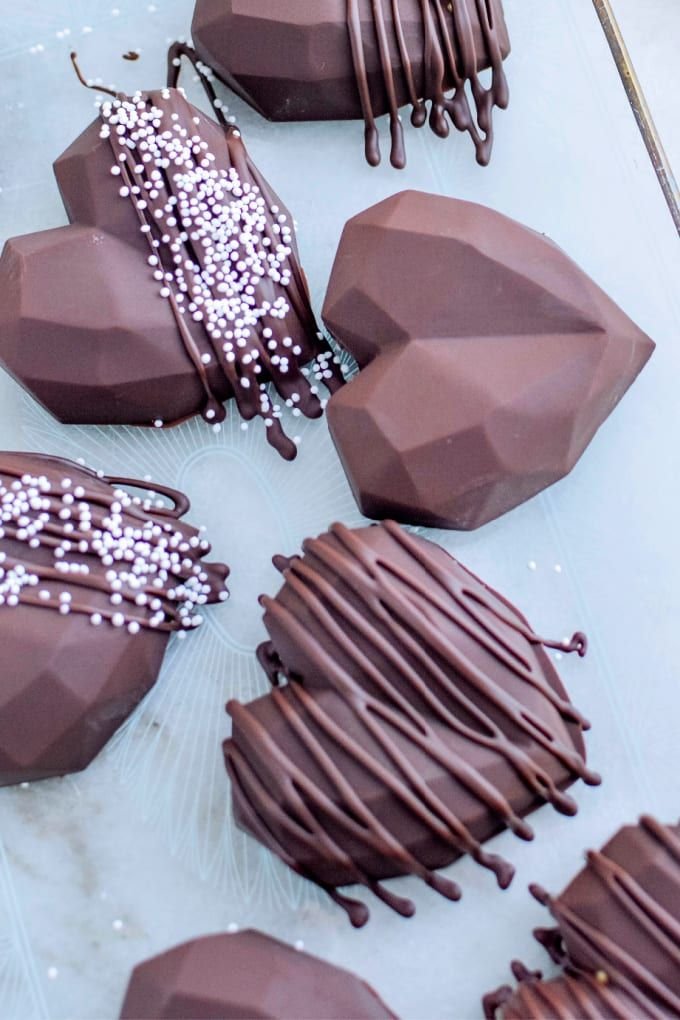
Essential Ingredients
Homemade chocolate relies on a few key ingredients and quality choices. Understanding these crucial components will enhance the final product.
Types of Chocolate
There are three main types of chocolate: dark, milk, and white. Each type provides a distinct flavor profile.
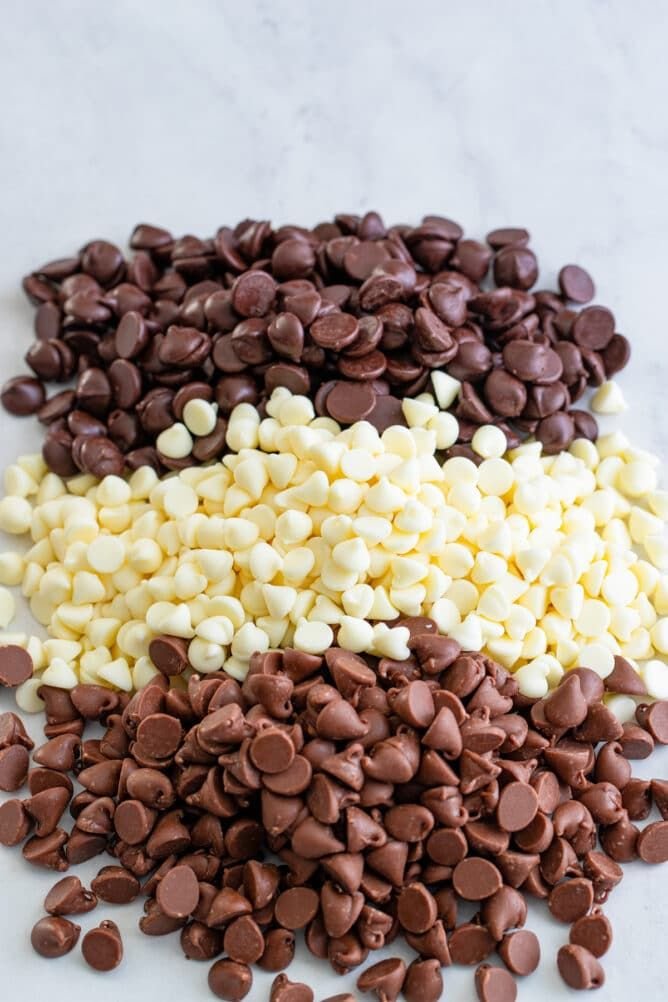
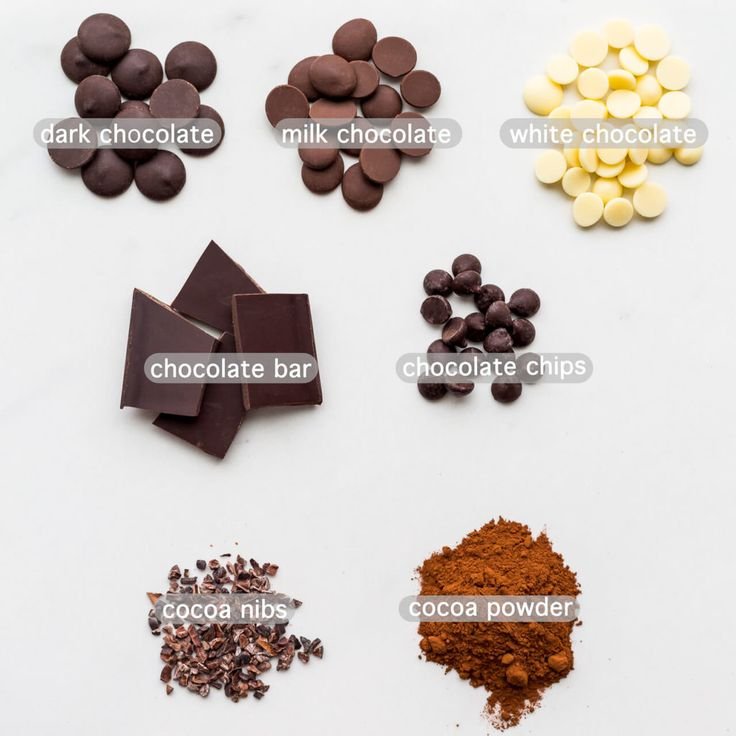
- Dark Chocolate: Contains a high cocoa content, usually over 70%. It’s known for its rich taste and health benefits due to less sugar.
- Milk Chocolate: Includes milk solids, giving it a creamier texture and sweetness. Typically has a lower cocoa percentage than dark chocolate.
- White Chocolate: Technically not chocolate, as it contains no cocoa solids. Instead, it consists of cocoa butter, sugar, and milk solids, providing a sweet, buttery flavor.
Selecting the right type depends on personal preferences and the desired outcome for recipes.
Choosing Quality Ingredients
Quality matters when making chocolate at home. Key ingredients include cocoa beans, sugar, milk, and cocoa butter.
- Cocoa Beans: Opt for high-quality, ethically sourced beans. Varieties like Criollo and Forastero provide different flavors.
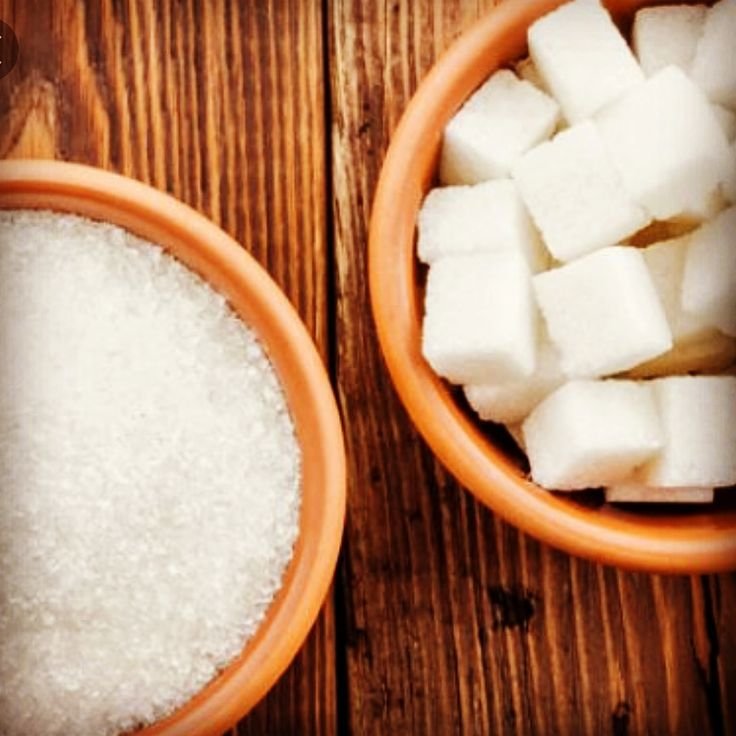
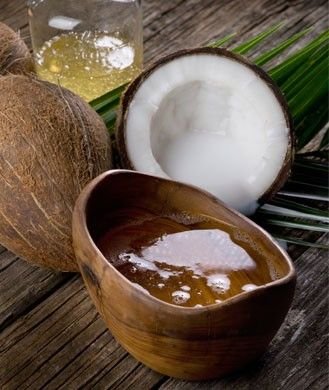
- Sugar: Use pure cane sugar or alternatives like coconut sugar for unique taste profiles.
- Milk: Fresh milk or high-quality milk powder is essential for milk chocolate.
- Cocoa Butter: Crucial for smoothness; it should be pure, unrefined cocoa butter without additives.
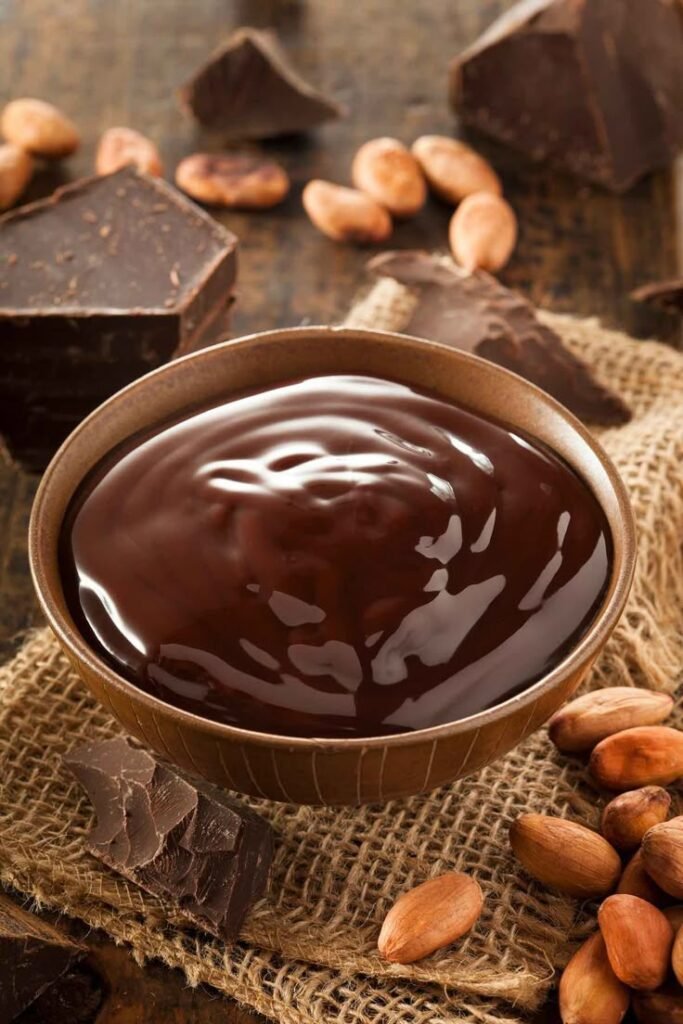
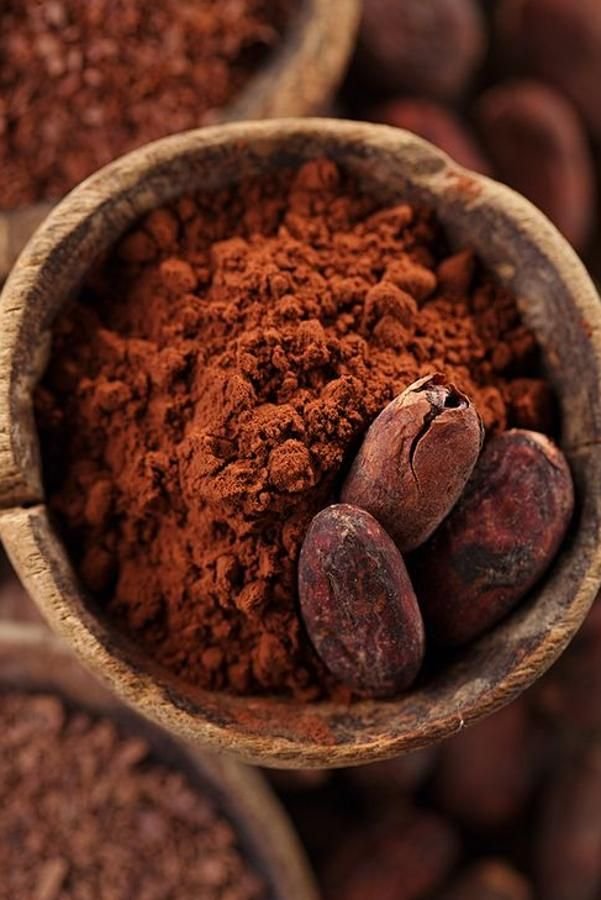
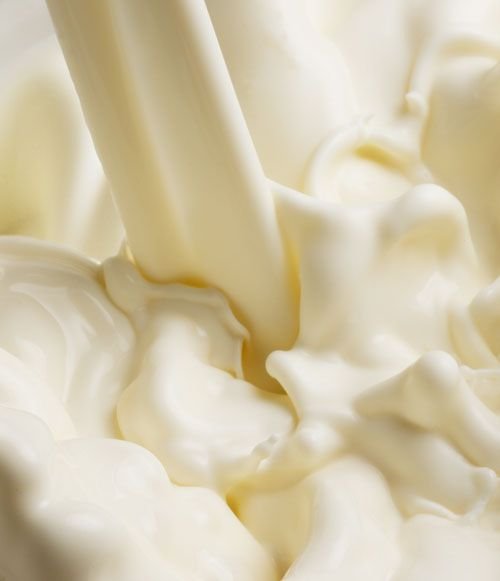
Investing in quality ingredients will significantly elevate the taste and texture of the final product.
Tools and Equipment
To create delicious homemade chocolate, having the right tools and equipment makes the process smoother and more enjoyable. Below are the essential items needed for successful chocolate-making.
Cookware
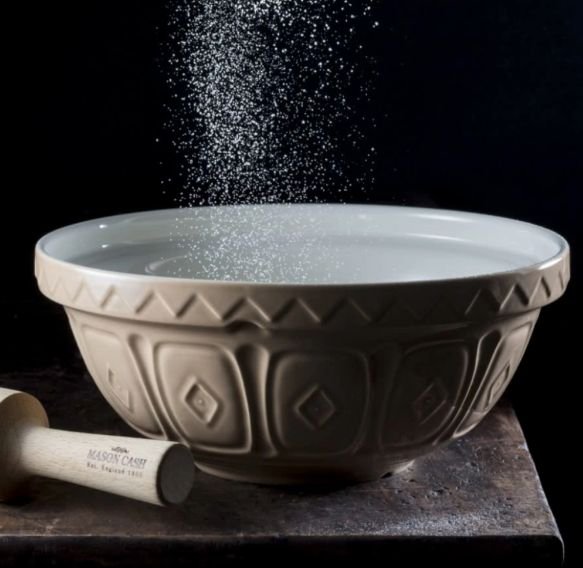
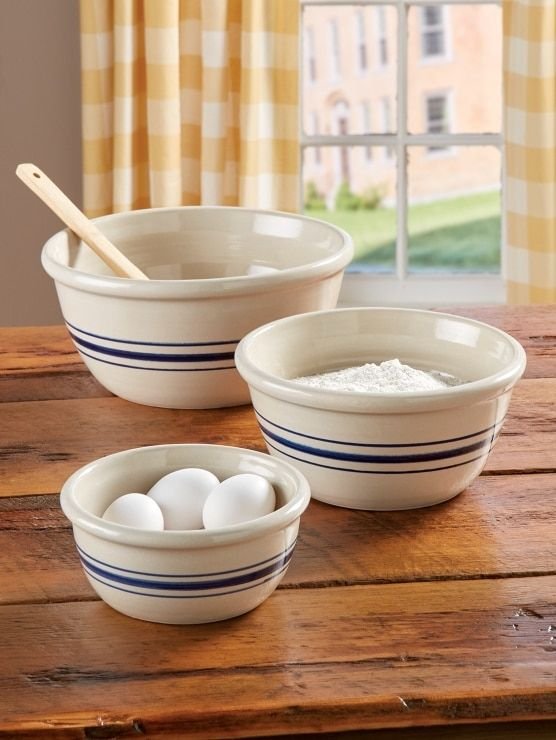
The choice of cookware is crucial when making homemade chocolate. Key items include a double boiler for gentle melting, minimizing the risk of burning the chocolate. A heavy-bottomed saucepan can work if a double boiler isn’t available.
Using silicone spatulas is beneficial for stirring and scraping. They are heat-resistant and allow for easy pouring. Mixing bowls should be heatproof to handle warm chocolate.
It’s also important to have thermometers on hand. A digital or candy thermometer will help monitor the chocolate’s temperature, ensuring the right consistency.
Ensure that all cookware is clean and dry before use to prevent any contamination.
Molds and Shaping
Molds define the shape of the chocolate, contributing to its presentation and enjoyment. Silicone molds are highly recommended because they are flexible, making it easy to release the chocolate without breakage.
Popular shapes include bars, hearts, or custom designs. For truffles or filled chocolates, using small candy cups can help shape and serve them conveniently.

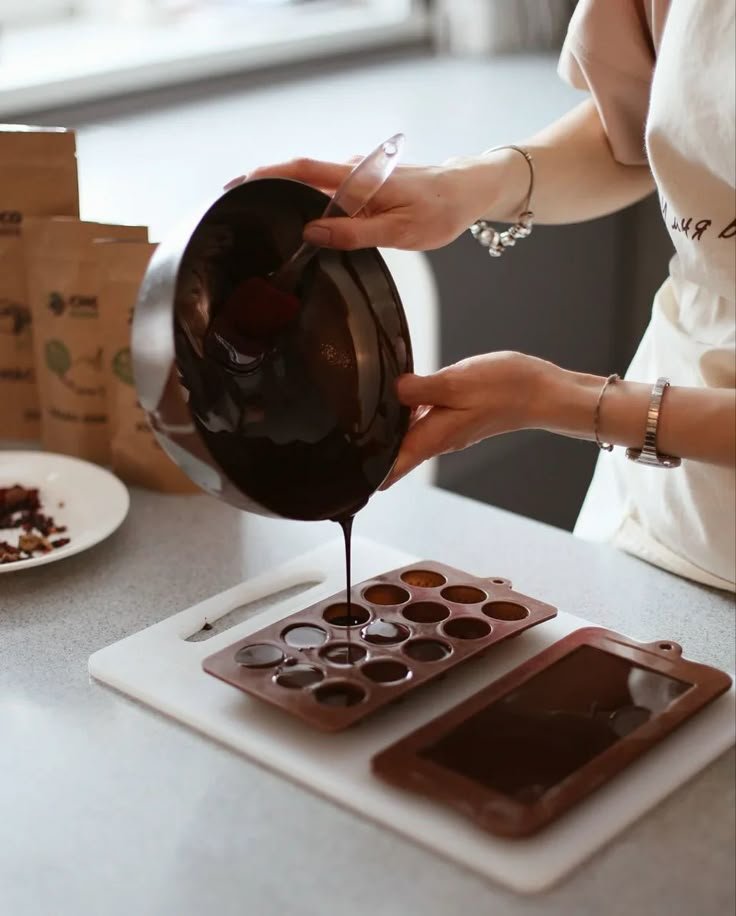
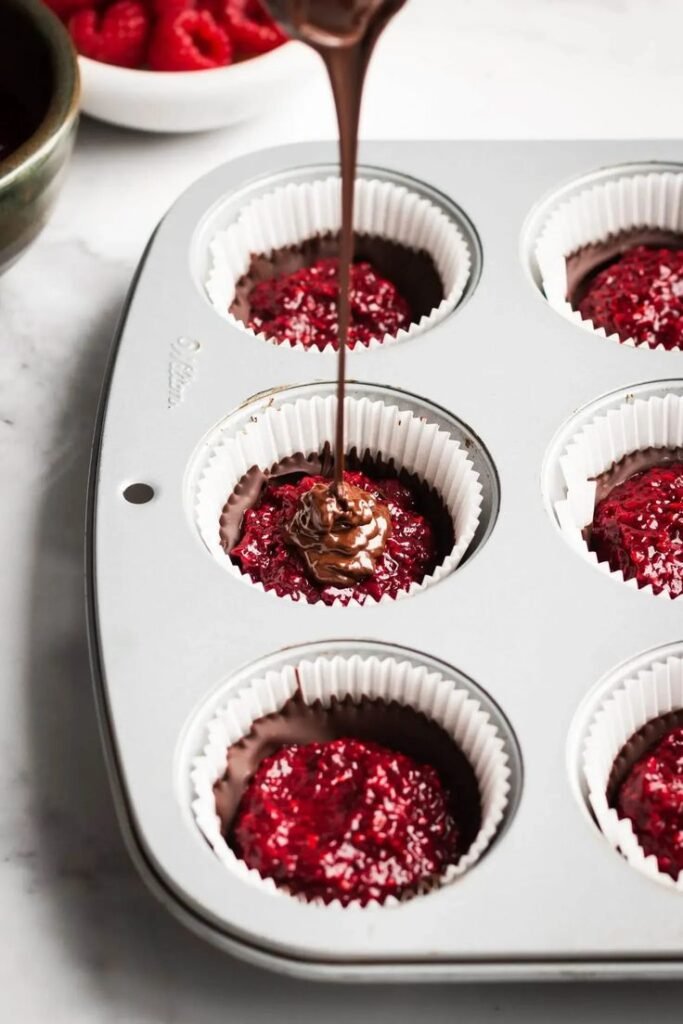
Consider implementing decorative tools for added flair. A simple piping bag can be used for drizzling chocolate or adding fillings.
Investing in different molds allows for creativity and variety in homemade chocolate offerings. Proper storage is also key; ensure that molds are clean and properly dried after use.
Preparing the Ingredients
Gathering and organizing ingredients is essential for making homemade chocolate. Proper measurement ensures consistent results, while tempering chocolate is crucial for achieving that desirable shine and snap.
Measuring and Weighing
Accurate measurement of ingredients is vital in chocolate-making. Using a digital kitchen scale provides precise weights, which is especially important for cocoa solids, sugars, and fats.
- Cocoa Powder: Measure based on your recipe’s requirements. Common measurements are 1-2 cups.
- Sugar: Granulated sugar is typical; measurements may vary between ½ to 1 cup.
- Fats: Cocoa butter or coconut oil should be weighed carefully, typically needing 4-8 oz.
Sifting cocoa powder can help eliminate lumps, ensuring a smooth consistency in the chocolate mixture.
Tempering Chocolate
Tempering is a process that stabilizes chocolate, giving it a glossy finish and a satisfying snap. The key is to heat chocolate gently and cool it at the right temperatures.
- Chop the Chocolate: Break it into uniform pieces for even melting.
- Heat Gradually: Use a double boiler or microwave, heating in short bursts to avoid burning.
- Cooling Method: Once melted, pour two-thirds onto a marble surface, spreading it until it cools. Then, combine with the remaining third.
Maintaining specific temperatures is crucial—typically around 88-90°F for dark chocolate. Properly tempered chocolate will have a smooth texture and will set well once cooled.
Mixing and Cooking Process
The process of mixing and cooking homemade chocolate involves melting the chocolate and skillfully combining it with other ingredients. Getting these steps right is essential for a smooth and delicious result.
Melting the Chocolate
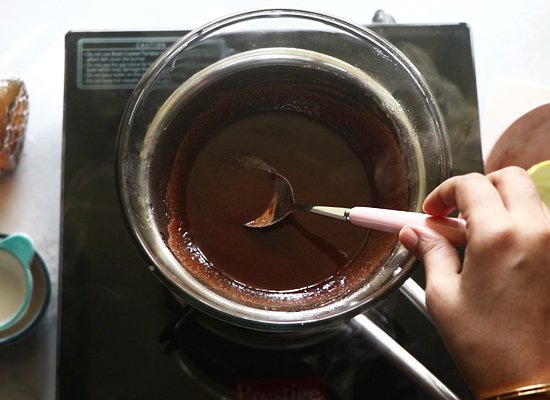
To begin, it’s important to select high-quality chocolate for the best flavor. She can use a double boiler or a microwave to melt the chocolate.
Double Boiler Method:
- Fill a pot with water and bring it to a simmer.
- Place a heatproof bowl on top, ensuring it doesn’t touch the water.
- Add chopped chocolate into the bowl and stir gently until melted.
Microwave Method:
- Place chocolate in a microwave-safe bowl.
- Heat in short bursts of 20-30 seconds, stirring in between.
- Stop when it’s nearly melted and stir until fully combined.
Avoid overheating the chocolate, as it can become grainy.
Combining with Other Ingredients
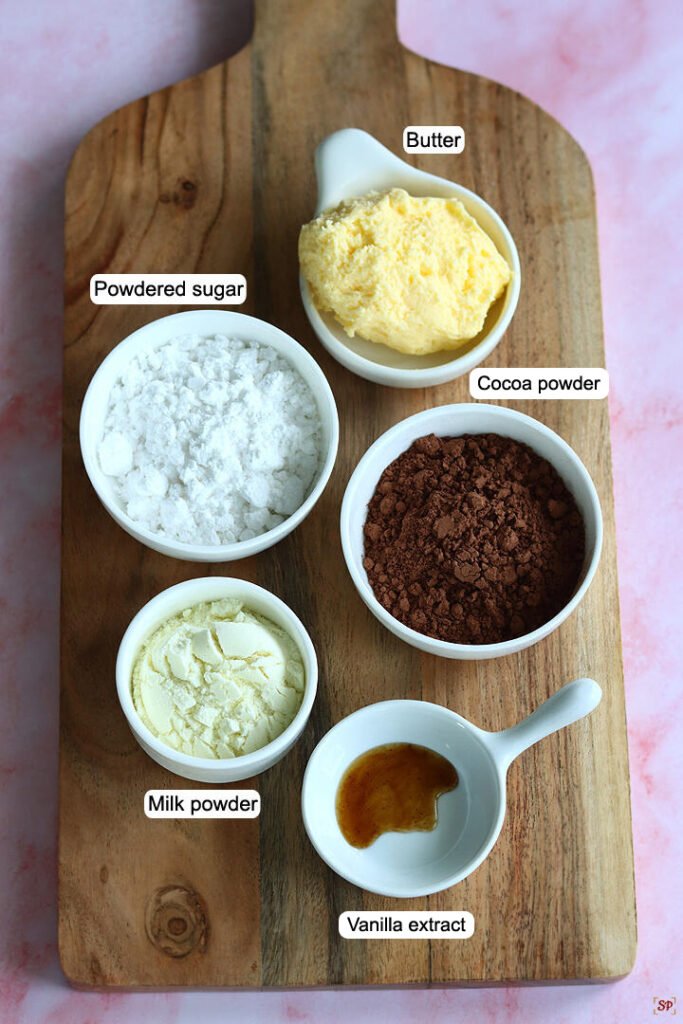
Once melted, it’s time to mix in the other ingredients. Common additions include butter, cream, or flavorings like vanilla or espresso.
- Additions: She should start by stirring in melted butter for a silky texture.
- Cream Incorporation: If using cream, warm it slightly before mixing to ensure it blends smoothly.
Using a whisk or spatula will help achieve a uniform texture.
Flavoring Options:
- Vanilla Extract: Adds depth.
- Sea Salt: Enhances sweetness.
Mix thoroughly to ensure all ingredients are integrated well. The final mixture should be glossy and smooth, perfect for shaping into bars or other forms.
Finishing Touches
The final steps of making homemade chocolate involve key elements that elevate both its appearance and preservation. Carefully considering decoration and storage will help ensure that the chocolate maintains its quality and looks delightful.
Decorating


Decorating chocolate can transform it into a visually appealing treat. Simple techniques can include drizzling melted chocolate of a different color on top, creating patterns with a fork, or sprinkling edible glitter for a festive touch.
Using toppings like chopped nuts, dried fruits, or sea salt enhances both flavor and texture.
For a more artistic approach, chocolate can be molded into shapes using silicone molds, then painted with food-safe colors. This not only adds flair but personalizes each piece for different occasions.
Packaging and Storing
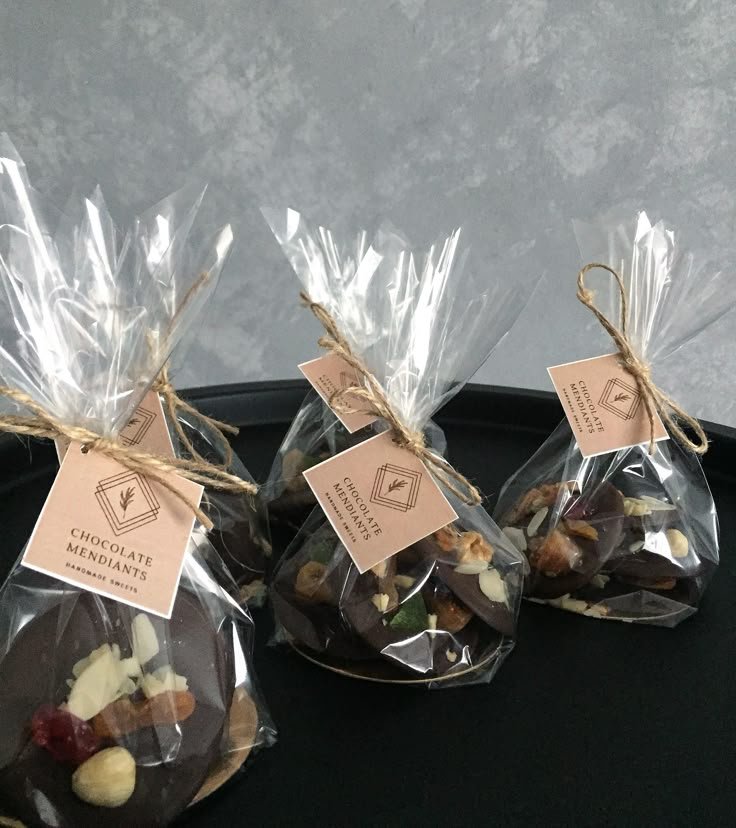

Proper packaging keeps chocolate fresh while showcasing it beautifully. Use clear or decorative bags tied with ribbons for a charming gift presentation.
For long-term storage, airtight containers are essential to prevent moisture exposure.
Chocolate should be stored in a cool, dry place away from direct sunlight. If refrigerating, wrap it securely to avoid absorbing odors.
Labeling containers with the date made ensures freshness and quality, making it easier to enjoy homemade treats later on.


