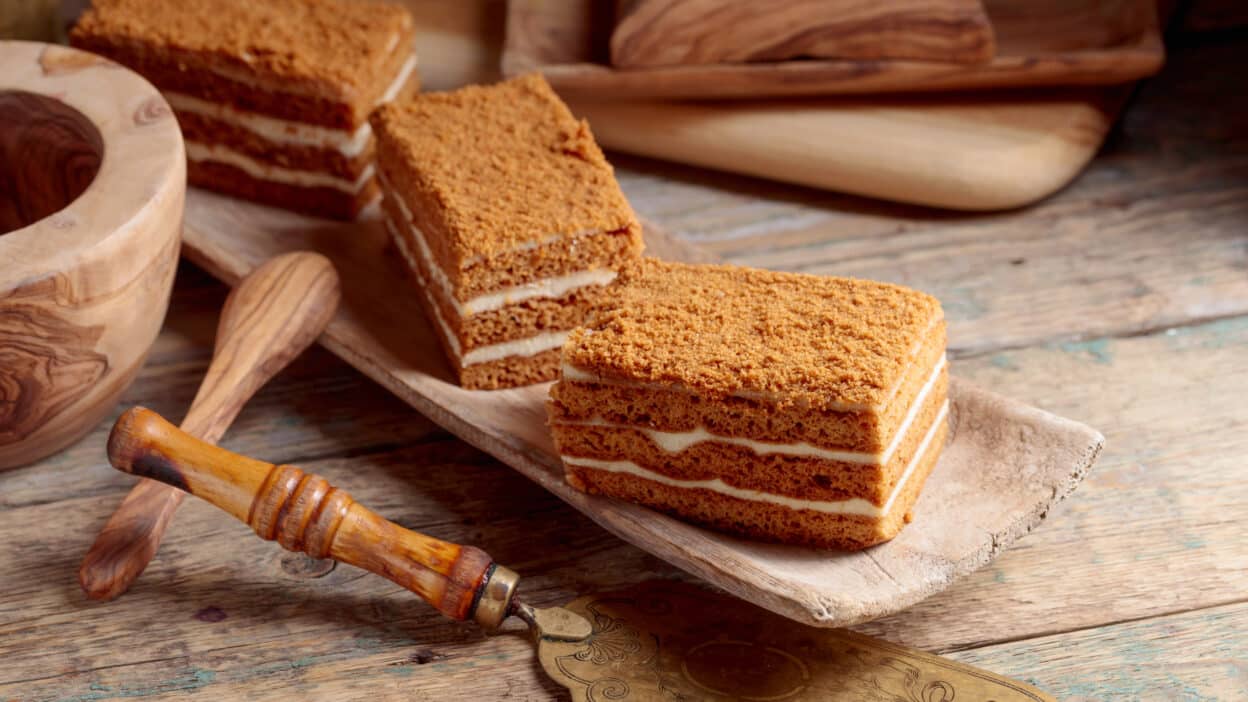
Get ready to fill your kitchen with the most comforting and enchanting aroma! Today, we’re diving into the wonderful world of homemade honey cake, a dessert that’s as rich in history as it is in flavor. This isn’t just any cake; it’s a symphony of tender, honey-infused layers delicately balanced with a luscious, creamy frosting. Often known as Medovik in Eastern Europe, this cake holds a special place in many hearts, evoking memories of warmth, celebrations, and pure indulgence.

Crafting a honey cake might seem a little intimidating at first glance, but I promise you, it’s a labor of love that’s incredibly rewarding. The magic truly happens as you cook the honey and sugar, creating that distinctive caramelized flavor that sets this cake apart. Each thin layer bakes up beautifully, soaking in the moisture from the cream to become incredibly soft and melt-in-your-mouth tender. It’s a showstopper for any occasion, from cozy family dinners to festive gatherings.

What makes this honey cake truly special is the depth of flavor from natural honey. It’s warm, sweet, and carries subtle floral notes that marry perfectly with the tangy cream cheese or sour cream frosting. We’ll walk through each step together, ensuring your success even if you’re new to baking multi-layered cakes. If you’re looking for more delightful sweet treats, consider exploring other classic desserts that never go out of style.
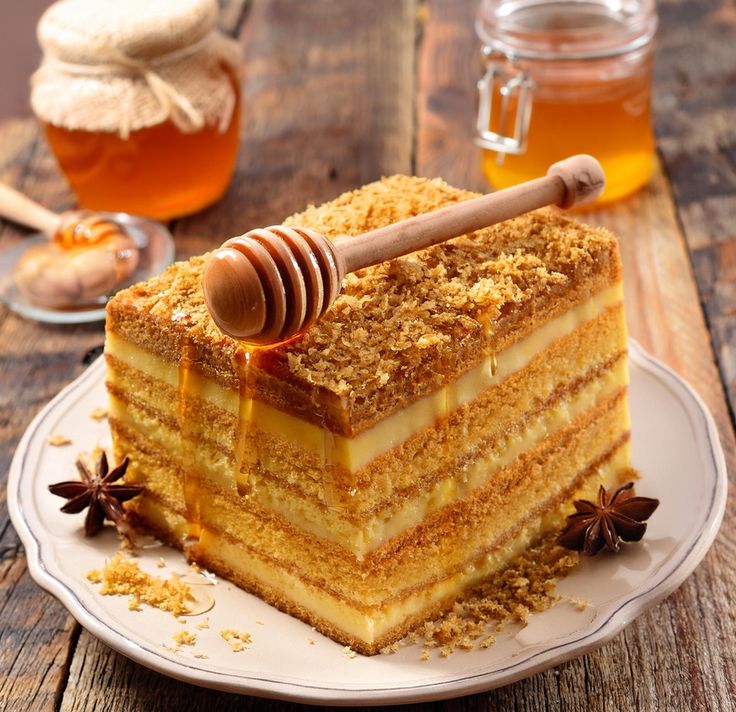
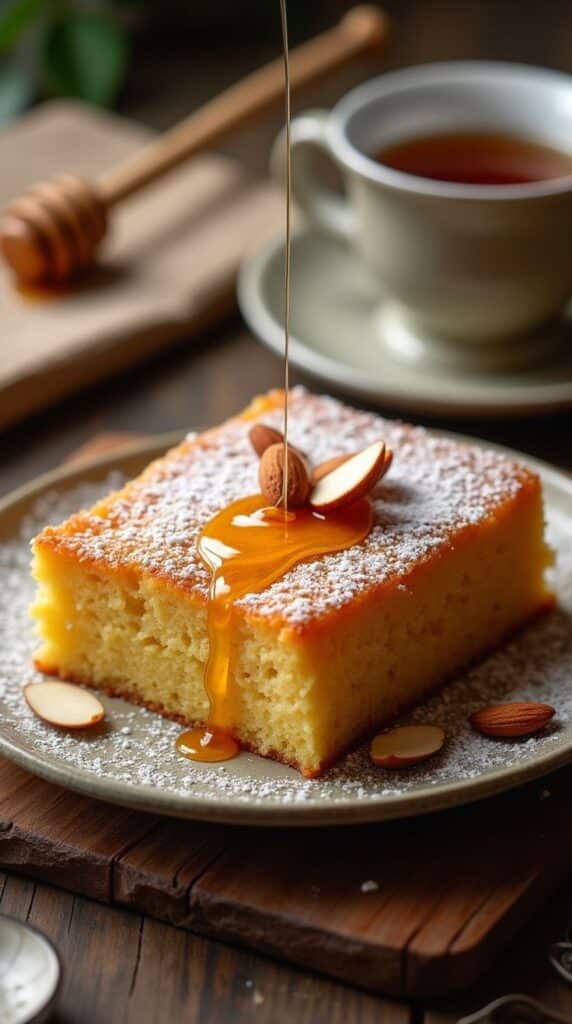
This recipe is a fantastic project for a weekend afternoon, and the result is well worth every moment spent in the kitchen. For those who love to experiment with seasonal baking, this honey cake is also a perfect addition to your fall baking ideas, bringing warmth and comfort as the weather cools down. So, tie on your apron, gather your ingredients, and let’s create some baking magic! If you’re a beginner, don’t fret; this is a great recipe to expand your skills and add to your repertoire of perfect cakes for beginners.
Ingredients
-
1/2 cup unsalted butter (cubed)
-
1/2 cup granulated sugar
-
1/2 cup honey
-
2 large eggs (lightly beaten)
-
1 teaspoon baking soda
-
3 1/2 – 4 cups all-purpose flour (plus more for dusting)
-
16 ounces cream cheese (softened)
-
1 cup heavy cream (cold)
-
1/2 cup powdered sugar (or to taste)
-
1 teaspoon vanilla extract
-
1/4 teaspoon salt
Instructions
In a heatproof bowl set over a saucepan of simmering water (double boiler method), combine the butter, granulated sugar, and honey. Stir occasionally until the butter is melted and the sugar is dissolved, about 5-7 minutes. Do not let the bowl touch the water.
💡 Tip: Keeping the heat gentle prevents the mixture from scorching and ensures even melting.
Remove the bowl from heat and immediately stir in the beaten eggs. Whisk continuously for about 1 minute to prevent the eggs from scrambling, allowing them to gently cook and thicken slightly. Add the baking soda and whisk well. The mixture will foam up, which is exactly what you want!
💡 Tip: Work quickly here! The residual heat will cook the eggs, so constant whisking is key.
Gradually add 3 cups of the flour, mixing with a wooden spoon or spatula until a soft, sticky dough forms. Turn the dough out onto a lightly floured surface and knead gently, adding more flour a little at a time (up to 1/2 cup), until the dough is smooth and no longer excessively sticky. Be careful not to over-knead.
💡 Tip: The dough should be soft and pliable, not stiff. A little stickiness is okay.
Divide the dough into 8-10 equal portions. Shape each portion into a ball. Lightly flour a piece of parchment paper or your work surface. Roll each ball into a very thin, approximately 8-9 inch circle. Use a plate or cake pan as a guide to cut perfect circles if desired, reserving the scraps.
💡 Tip: The thinner you roll the layers, the more delicate your final cake will be. Aim for almost translucent.
Preheat your oven to 350°F (175°C). Place one rolled-out dough circle on a baking sheet lined with parchment paper. Bake for 5-7 minutes, or until golden brown and slightly firm to the touch. The layers cook quickly!
💡 Tip: Bake one layer at a time or as many as your oven can accommodate without crowding.
Repeat with the remaining dough circles and all the scraps. Once baked, crumble the cooled scraps into fine crumbs. These crumbs will be used for decorating the cake.
💡 Tip: Allow the layers to cool completely on a wire rack to prevent them from becoming soggy.
For the frosting: In a large bowl, beat the softened cream cheese with an electric mixer until smooth. In a separate cold bowl, whip the cold heavy cream, powdered sugar, vanilla extract, and salt until stiff peaks form.
💡 Tip: Ensure all dairy ingredients are well-chilled for the best whipping results.
Gently fold the whipped cream mixture into the cream cheese until fully combined and smooth. Be careful not to overmix.
💡 Tip: A light hand will keep the frosting airy and fluffy.
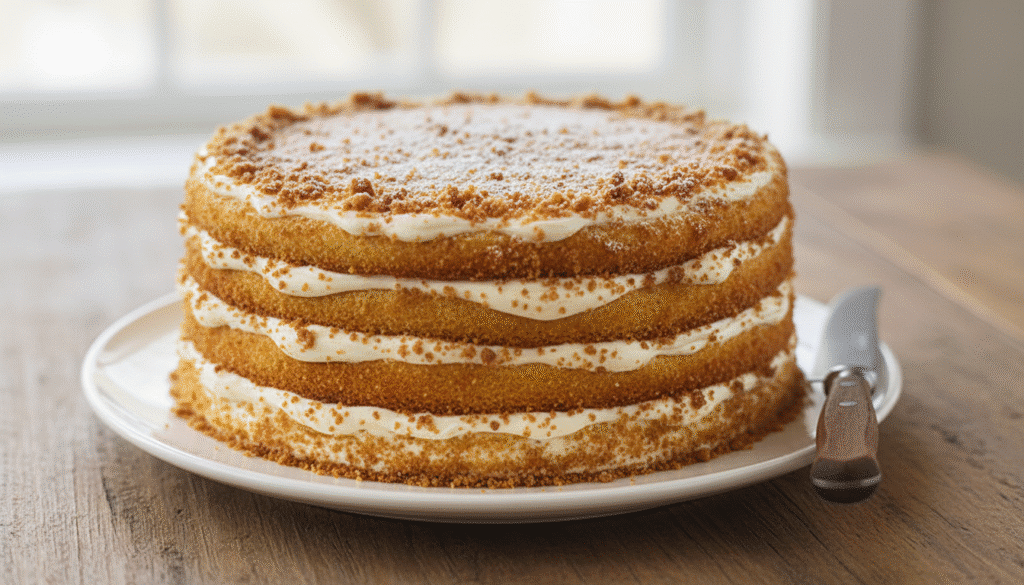
To assemble: Place one cooled cake layer on your serving plate or cake stand. Spread about 1/4 to 1/3 cup of frosting evenly over the layer. Repeat with the remaining cake layers, stacking them neatly.
💡 Tip: Ensure each layer has an even coating of frosting for a balanced taste.
Once all layers are stacked, use the remaining frosting to cover the top and sides of the cake. Gently press the reserved cake crumbs onto the sides and top of the cake, ensuring an even coating.
💡 Tip: A small offset spatula or pastry scraper can help achieve a smooth finish before adding crumbs.
Refrigerate the honey cake for at least 4-8 hours, or preferably overnight, to allow the layers to soften and the flavors to meld beautifully. Slice and serve chilled. Enjoy!
💡 Tip: Chilling is crucial! It transforms the cake from firm layers to an incredibly moist and tender dessert.
💡 Tips
- Don't Rush the Dough: Allowing the dough to cool slightly after cooking the honey mixture makes it easier to handle and roll.
- Roll Thin, Bake Fast: The key to a good honey cake is thin, crispy layers that soften beautifully with the cream. They bake quickly, so keep an eye on them!
- Chill Time is Essential: This cake absolutely needs time in the refrigerator to allow the cream to soften the cake layers. Don't skip this step!
- Room Temperature Butter & Cream Cheese: For the frosting, ensure your butter and cream cheese are softened to room temperature for a lump-free, smooth consistency.
- Even Frosting: Spread each layer with an even amount of frosting to ensure a balanced flavor and moisture distribution throughout the cake.
🎨 Variations
- Citrus Zest: Add a teaspoon of lemon or orange zest to the honey mixture or the frosting for a bright, aromatic twist.
- Nutty Delight: Fold finely chopped toasted walnuts or pecans into the frosting for added texture and flavor.
- Spice it Up: Incorporate a pinch of cinnamon or nutmeg into the flour mixture for a warmer, spicier cake.
- Chocolate Honey Cake: Drizzle melted dark chocolate over the top or between layers for a decadent touch.
- Fruit Compote: Add a thin layer of berry or apricot compote between a few of the cake layers for a fruity contrast.
📊 Nutrition
Recipe FAQs
Can I make the honey cake layers ahead of time?
Yes, you can bake the cake layers up to 2-3 days in advance. Store them in an airtight container at room temperature. Frosting should be made fresh when assembling the cake.
What kind of honey is best for this recipe?
Any good quality liquid honey will work. Lighter honeys like clover or acacia will give a milder flavor, while darker honeys like buckwheat or wildflower will lend a richer, more pronounced honey taste.
How long does honey cake last?
When stored properly in an airtight container in the refrigerator, honey cake will last for up to 5-7 days. The flavor often improves even more on the second day!
Can I use sour cream instead of cream cheese for the frosting?
Absolutely! Many traditional Medovik recipes use sour cream. You can substitute 2 cups of full-fat sour cream for the cream cheese and heavy cream for a tangier, lighter frosting. Just whip the sour cream with powdered sugar and vanilla.
Why did my cake layers come out hard?
If your cake layers are hard, it's likely due to overbaking or not rolling them thin enough. Also, ensure you chill the cake for the recommended time, as the frosting is what softens the layers over time.
There you have it – a magnificent homemade honey cake ready to impress! This recipe is more than just a dessert; it's an experience, a journey into delightful flavors and textures. Whether you're sharing it with loved ones or savoring a slice all to yourself, this honey cake is sure to become a cherished favorite. Don't forget to share your baking triumphs with us!
