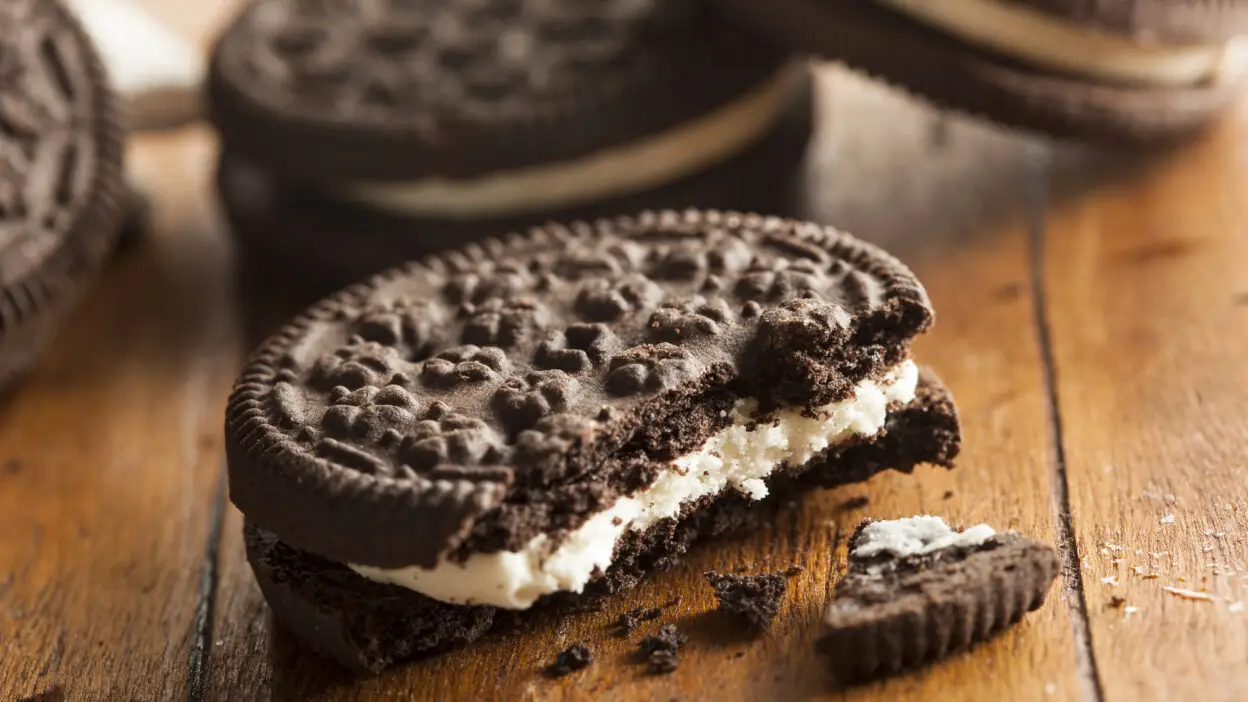
Oreos, those iconic chocolate sandwich cookies with creamy filling, have been a beloved treat for generations. While store-bought versions are readily available, making them at home allows for customization of flavors and textures to suit personal preferences. Homemade Oreos typically consist of chocolate cookies made with cocoa powder and a sweet vanilla filling that mimics the classic store-bought version.
Creating these cookies from scratch involves making a chocolate cookie dough, baking it into perfectly round discs, and then sandwiching them together with a creamy filling. The homemade versions often have a more pronounced chocolate flavor in the cookies and can be made with varying levels of sweetness in the filling. Many bakers find that making these cookies at home provides a fresher taste and the satisfaction of crafting a favorite snack from simple ingredients.
1) Make the cookie dough with butter and sugar
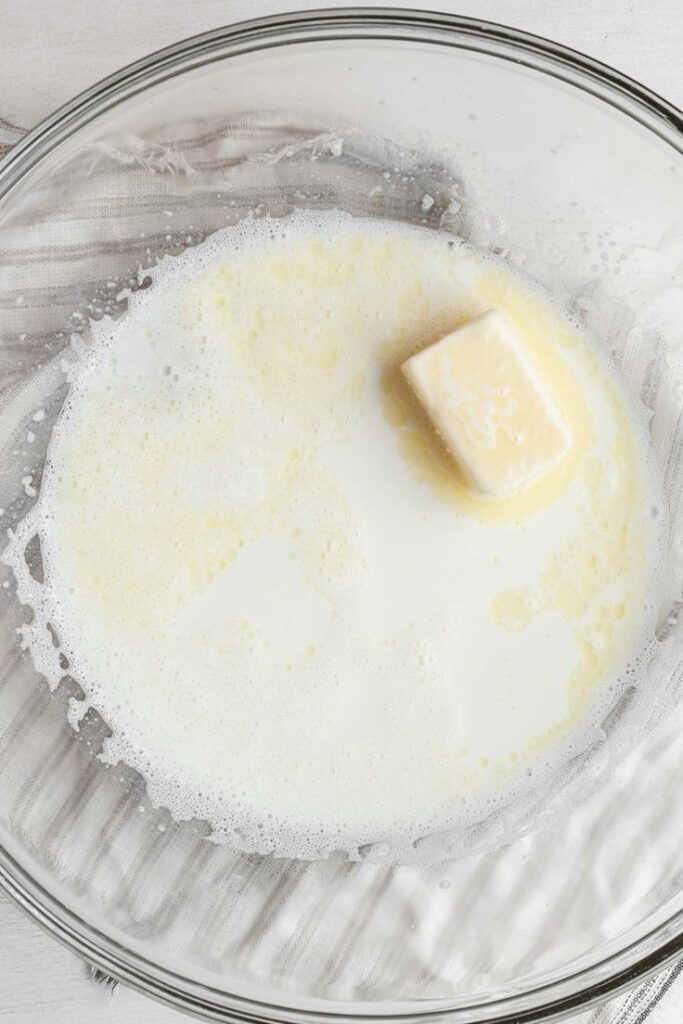
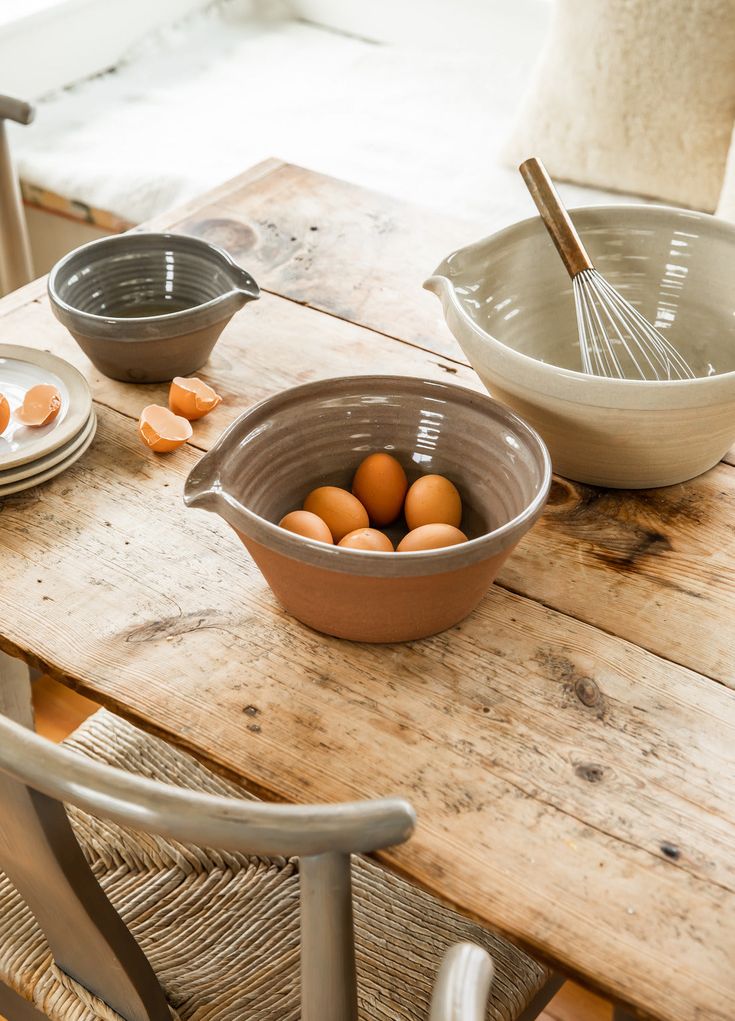
Creating the perfect homemade Oreo starts with a delicious chocolate cookie dough. Begin by combining softened butter and sugar in a large mixing bowl. The butter should be at room temperature to ensure it blends smoothly with the sugar.
Beat the mixture until it becomes light and fluffy. This typically takes about 2-3 minutes with an electric mixer, though you can also do this by hand with a sturdy wooden spoon.
Some recipes call for a combination of white and brown sugar, which adds depth to the flavor. The brown sugar contributes a slight molasses taste that complements the chocolate perfectly.
Next, add in vanilla extract and salt to enhance the flavor profile. These ingredients balance the sweetness and add complexity to your cookies.
Some recipes also include an egg to bind the ingredients together. If your recipe calls for it, mix it in thoroughly at this stage.
For authentic Oreo flavor, add espresso powder to intensify the chocolate taste. This is optional but creates a richer cookie experience.
2) Add vanilla and eggs to the mix
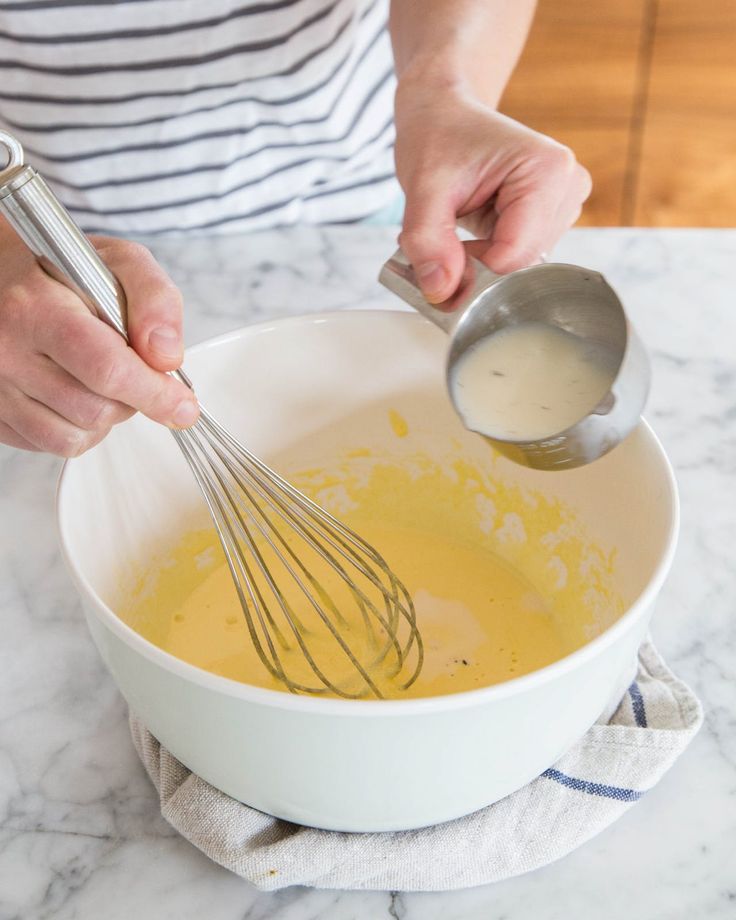
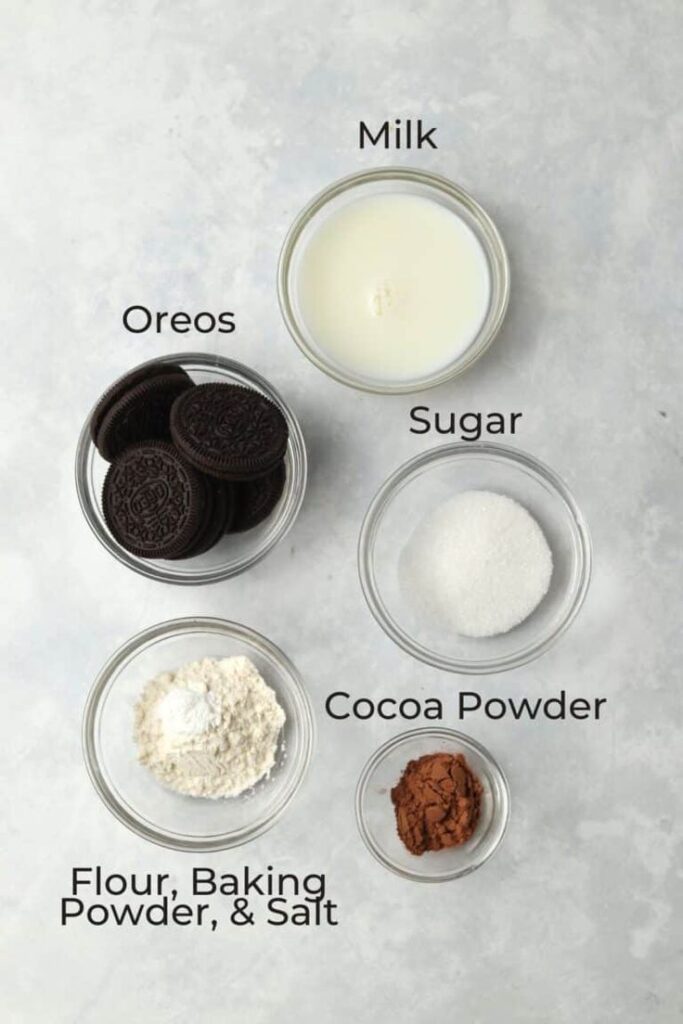
After preparing your butter and sugar mixture, it’s time to add more flavor and binding agents. Crack an egg into the bowl and pour in a teaspoon of vanilla extract. These ingredients help create that classic Oreo texture and enhance the overall flavor.
Mix everything until well combined. The vanilla adds that subtle aromatic quality that makes Oreos so distinctive, while the egg helps bind the ingredients and creates a cohesive dough.
For those making golden Oreos, this step remains the same. The vanilla complements the lighter cookie flavor perfectly. Make sure to beat quickly to incorporate air into the mixture.
Some recipes suggest adding a small amount of water along with the vanilla to achieve the right consistency. This helps create a workable dough that’s easy to roll out later.
Be careful not to overmix at this stage. Just blend until the egg and vanilla are fully incorporated into the butter-sugar mixture before moving on to the dry ingredients.
3) Combine cocoa powder and flour
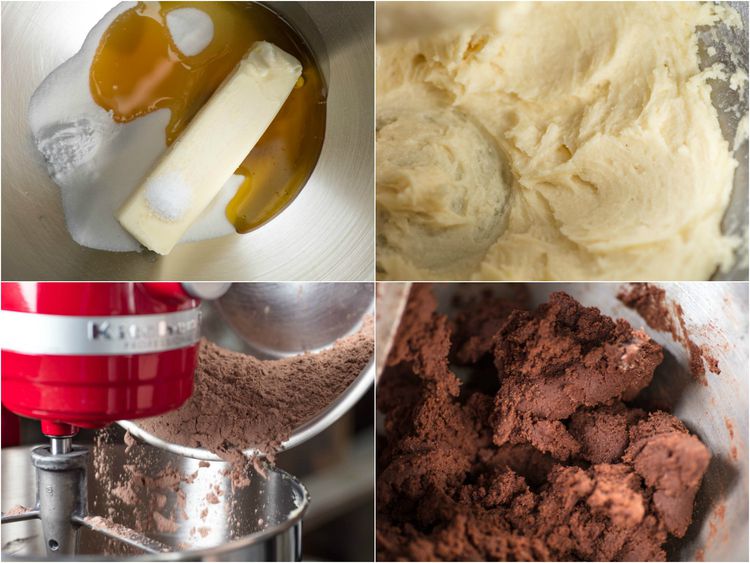
Mixing cocoa powder and flour properly is a crucial step in creating authentic homemade Oreo cookies. In a medium-sized bowl, whisk together 1 and 1/4 cups (156-159 grams) of all-purpose flour with 1/2 cup (41-43 grams) of Dutch-process cocoa powder or black cocoa powder. The black cocoa powder is particularly important for achieving that classic dark Oreo color and flavor.
Add 1 teaspoon of baking soda and a pinch of salt (about 1/8 teaspoon) to the dry ingredients. These additions help the cookies rise slightly while baking and enhance the overall flavor profile of the chocolate cookie.
Make sure to sift these ingredients together to remove any lumps. This step ensures even distribution of the cocoa throughout the flour and creates a smoother dough texture.
Some bakers like to whisk the sugar into this dry mixture as well, while others prefer to cream it with butter separately. Either method works well for homemade Oreos.
4) Chill the dough before rolling
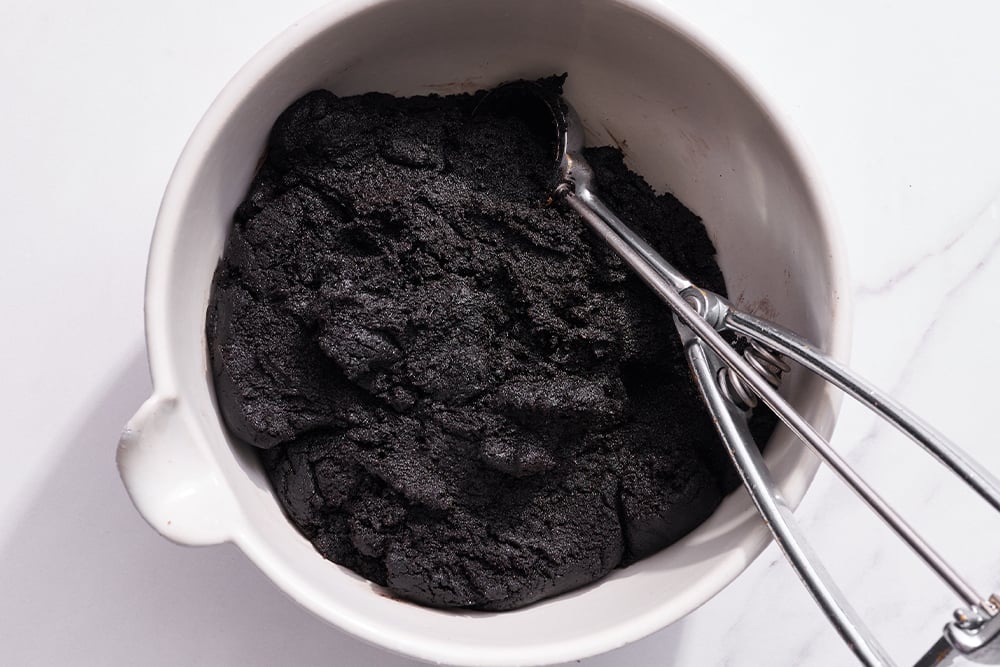
After mixing your Oreo cookie dough, it’s important to chill it before moving on to the rolling stage. Most recipes recommend refrigerating the dough for at least 3 hours to ensure it firms up properly. This chilling time helps the dough become less sticky and easier to work with.
For more efficient handling, consider dividing the dough into smaller portions before refrigerating. This makes the rolling process more manageable, especially since you’ll only be working with one portion while the rest stays cool.
If the dough becomes too soft while you’re working with it, don’t worry! Simply return it to the refrigerator for about 15 minutes to firm up again before continuing. This quick chill will restore the dough’s structure and make it easier to roll without sticking.
Some recipes may require shorter chilling times of around 10 minutes, but for the best results, a longer chill generally produces cookies with better texture and shape. The cold dough will hold its form better during cutting and transfer to baking sheets.
5) Roll out the dough to desired thickness
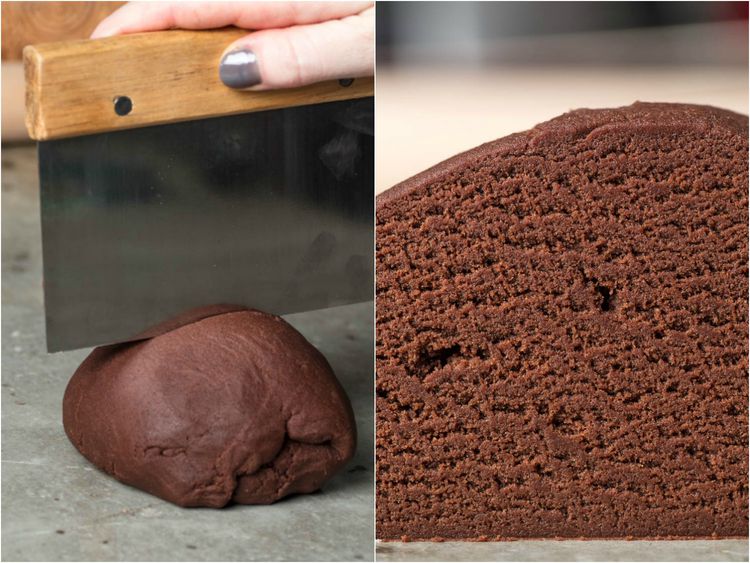
Once the dough has chilled properly, it’s time to roll it out to achieve that classic Oreo cookie thinness. Start by dividing the dough into four parts to make it easier to work with. This prevents the dough from warming up too quickly while you’re handling it.
Keep the portions you aren’t using covered or in the refrigerator. Place one portion between two sheets of parchment or wax paper to prevent sticking without adding too much additional flour.
Using a rolling pin, gently roll the dough to about 1/8 inch thickness, which is approximately 3-5mm. This thinness creates the authentic Oreo cookie texture that’s firm but still has a slight snap when bitten.
For an even easier rolling process, lightly dust both sides of the dough with cocoa powder instead of flour. This prevents the dark chocolate dough from developing light patches that can occur when using white flour.
Roll with even pressure from the center outward to maintain consistent thickness throughout. If the dough becomes too soft during rolling, return it to the refrigerator for a few minutes to firm up again.
6) Use a cookie cutter for shapes
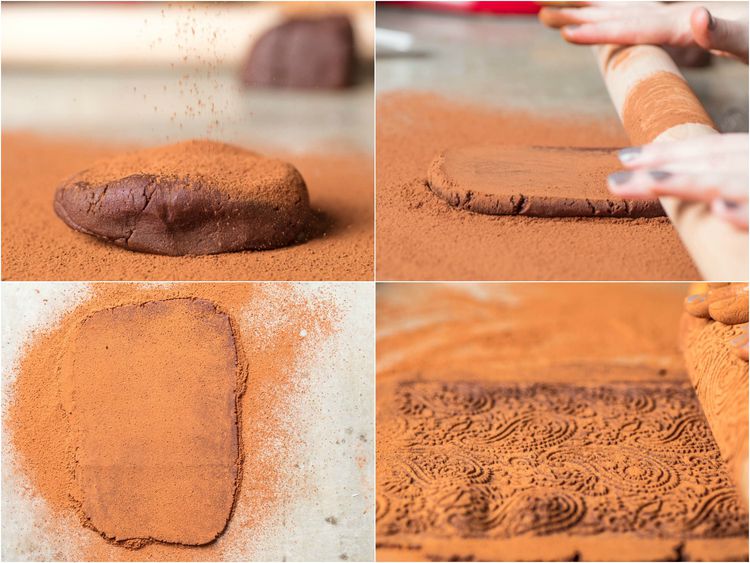
Once your dough has been properly chilled and rolled out to about 1/8 inch thickness, it’s time to create those classic Oreo shapes. Place the dough between two sheets of parchment paper to prevent sticking while you work with it.
A 2-inch diameter fluted round cookie cutter works perfectly for achieving that authentic Oreo look. The fluted edges give the cookies their distinctive ridged pattern that everyone recognizes.
Press the cutter firmly into the dough and lift the shapes carefully onto parchment-lined baking sheets. Leave a little space between each cookie as they may spread slightly during baking.
Any scraps of dough can be gathered up and re-rolled to make additional cookies. If the dough becomes too soft while working with it, simply return it to the refrigerator for a few minutes to firm up again.
For a fun twist, especially when baking with kids, try using different shaped cutters. Symmetrical shapes work best for sandwich cookies since both halves need to match perfectly.
7) Bake cookies until crisp
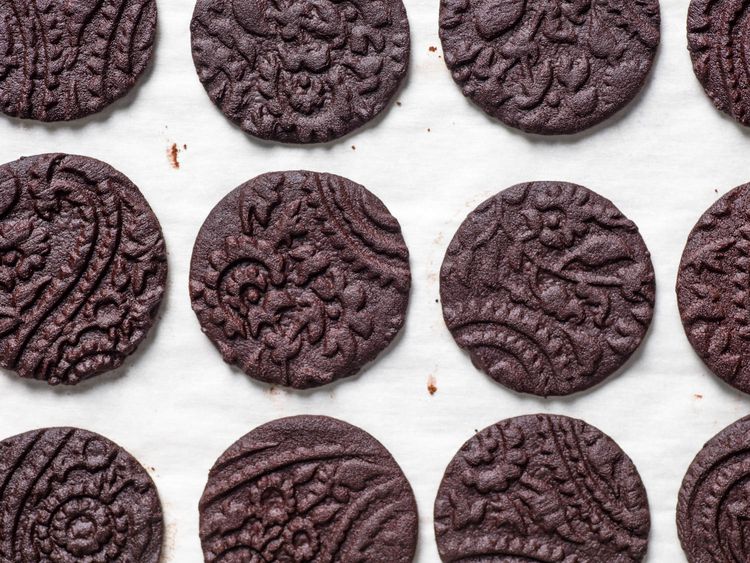
Place the shaped cookie dough in a preheated oven at 350°F (175°C). The cookies should bake for about 9-10 minutes, depending on their thickness. Remember to rotate the baking sheet halfway through to ensure even baking.
You’ll know the cookies are done when they become firm and dry to the touch. Look for a deep, rich color that resembles the classic Oreo wafer. Don’t worry if they still feel slightly soft when you remove them from the oven.
Let the cookies cool on the baking sheet for about 5 minutes. This allows them to set properly before transferring them to a wire rack to cool completely. The cooling process is crucial as it helps the cookies develop their signature crispness.
For extra crunchy cookies, you can extend the baking time by 1-2 minutes. Just keep a close eye on them to prevent burning. The homemade Oreo cookies will continue to crisp up as they cool down completely.
The cookies should be completely cool before filling them. This typically takes about 30 minutes at room temperature. Patience here will reward you with perfectly crisp Oreo wafers.
8) Prepare the creamy filling
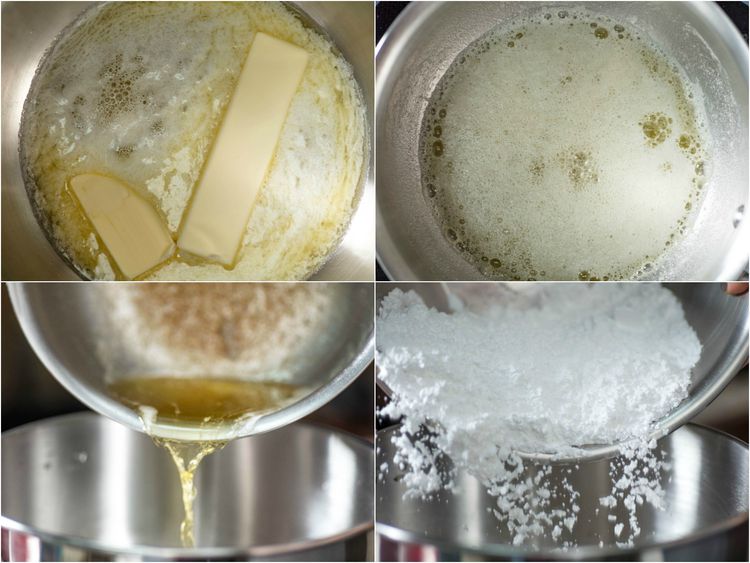
The oreo filling is what makes these cookies truly special. Most recipes call for a combination of butter (or shortening) and powdered sugar as the base. Some home bakers prefer using half shortening and half butter for a texture closer to store-bought Oreos.
For a classic approach, cream together 1/4 cup butter, 1/4 cup vegetable shortening, and 3 1/2 cups powdered sugar. Add 1/2 teaspoon vanilla extract and 1 teaspoon granulated sugar for enhanced flavor.
Alternatively, some bakers incorporate cream cheese for a richer filling. Mix 8 ounces of room temperature cream cheese with butter and vanilla before adding the powdered sugar.
The filling should be beaten until smooth and fluffy. If it seems too thick, a few drops of milk can help achieve the perfect consistency.
For those seeking an authentic texture, dissolving unflavored gelatin in cold water and then heating until clear can create that distinctive Oreo filling mouthfeel when added to the mixture.
Once prepared, the filling should be thick enough to hold its shape but soft enough to spread between the chocolate cookies.
9) Use powdered sugar for filling sweetness
Powdered sugar is essential for creating that smooth, sweet Oreo filling that everyone loves. Unlike granulated sugar, powdered sugar dissolves completely into the butter base, creating a velvety texture that mimics the original cookie’s filling.
Most homemade Oreo recipes call for a simple mixture of butter and powdered sugar as the foundation for the filling. This combination produces a creamy consistency that’s easy to work with when assembling the cookies.
The fine texture of powdered sugar helps achieve that signature melt-in-your-mouth quality that makes Oreo fillings so distinctive. For the best results, mix the powdered sugar gradually into the butter mixture until fully incorporated.
Some recipes recommend beating the filling mixture for 2-3 minutes on high speed until it becomes light and fluffy. This creates the perfect spreadable consistency for sandwiching between chocolate cookies.
For added flavor, a touch of vanilla extract can be mixed with the powdered sugar and butter. This enhances the sweetness and adds depth to the filling that complements the chocolate cookies beautifully.
10) Sandwich filling between two cookies
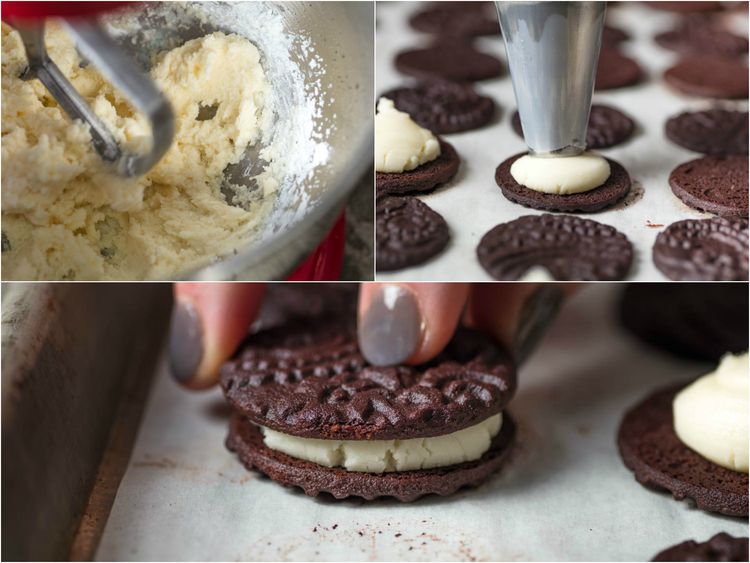
Assembling homemade Oreo cookies is a simple but enjoyable process. Take one chocolate cookie and place it flat side up, ready to receive the filling.
Using a pastry bag or small spatula, drop about a teaspoon of the prepared cream filling onto the center of the cookie. If you’re feeling generous, a bit more filling makes for an extra indulgent treat.
Take a second cookie and place it flat side down onto the filling, creating a sandwich. Press gently to spread the filling evenly between the cookies without causing them to break.
Continue this process with the remaining cookies and filling. For those who love Oreo’s Double Stuf version, simply double the amount of filling between each cookie pair.
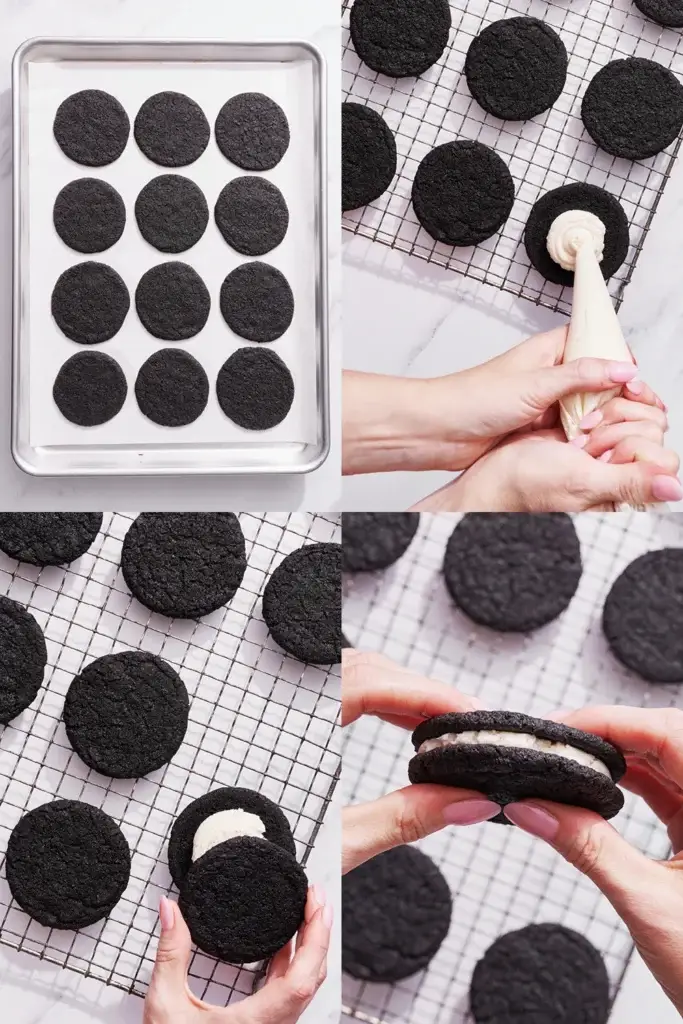
Some bakers find it helpful to twist the top cookie slightly while pressing down, mimicking the classic Oreo opening technique in reverse. This helps distribute the filling evenly.
Allow the assembled cookies to rest for about 30 minutes before serving. This gives the filling time to set slightly, making the cookies easier to handle and enjoy.
Ingredients Needed
Creating homemade Oreos requires a careful selection of quality ingredients that balance rich chocolate flavor with the perfect sweet filling. The right ingredients will ensure your cookies have that authentic taste and texture that makes Oreos so beloved.
Finding the Perfect Cocoa Powder
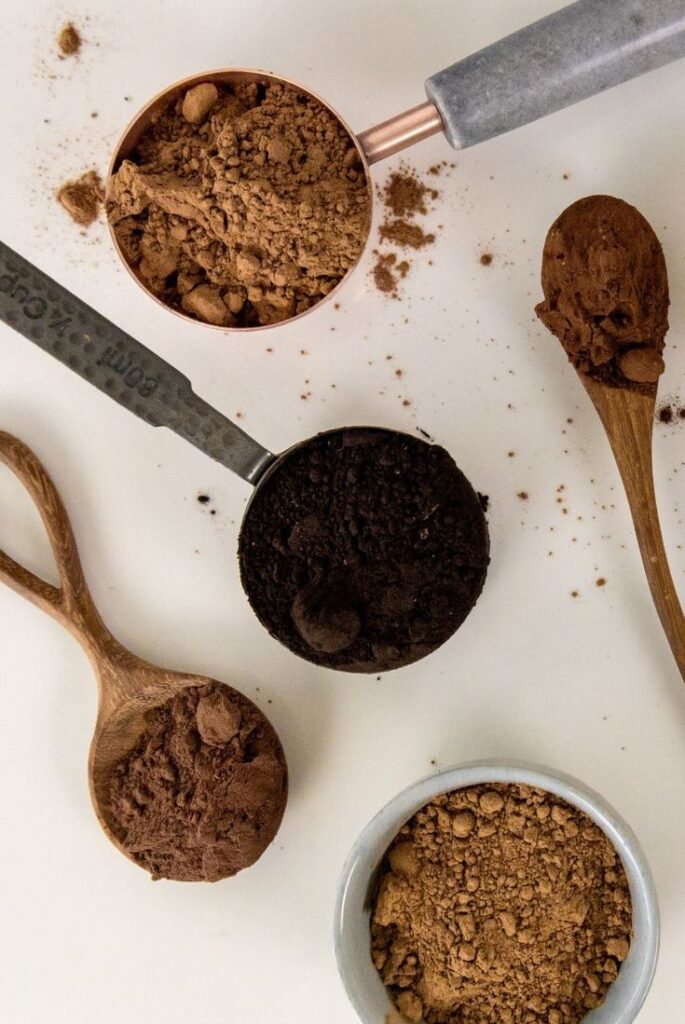
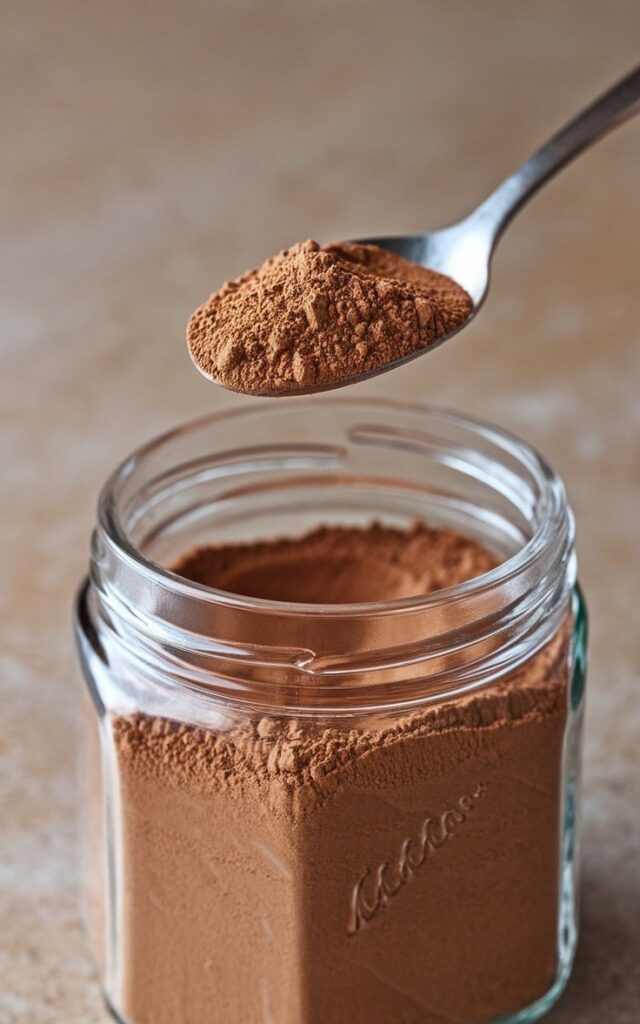
Dutch-process cocoa powder is essential for authentic homemade Oreos. This processed cocoa creates the deep, dark color and distinctive chocolatey flavor in the cookie base. Some bakers prefer Black cocoa powder for an even more intense color that closely resembles store-bought Oreos.
The cocoa powder should be unsweetened to allow better control of the cookie’s sweetness. For the best results, use about 1/2 cup (41-43 grams) of cocoa powder per batch.
When shopping for cocoa, look for products labeled “Dutch-process” or “alkalized” rather than natural cocoa powder. The alkalization process reduces acidity and creates that signature Oreo flavor profile.
Choosing the Right Vanilla Extract

Pure vanilla extract adds depth to both the cookie and the cream filling. For homemade Oreos, using high-quality pure vanilla extract rather than imitation flavoring makes a noticeable difference in taste.
Most recipes call for 3/4 to 1 teaspoon of vanilla extract for the cookie dough and additional vanilla for the cream filling. The vanilla complements the chocolate without overpowering it.
For an elevated flavor profile, consider using Madagascar vanilla extract, which offers a rich, creamy flavor that pairs beautifully with chocolate. Some bakers even add a tiny pinch of salt with the vanilla to enhance all the flavors.
When measuring vanilla, be precise as too much can overpower the chocolate cookies.
Baking Tips and Techniques
Creating perfect homemade Oreos relies on mastering a few key techniques that ensure consistent results with every batch. Paying attention to dough consistency and precise shaping will help you achieve cookies that look and taste like the real thing.
Mastering the Dough Texture

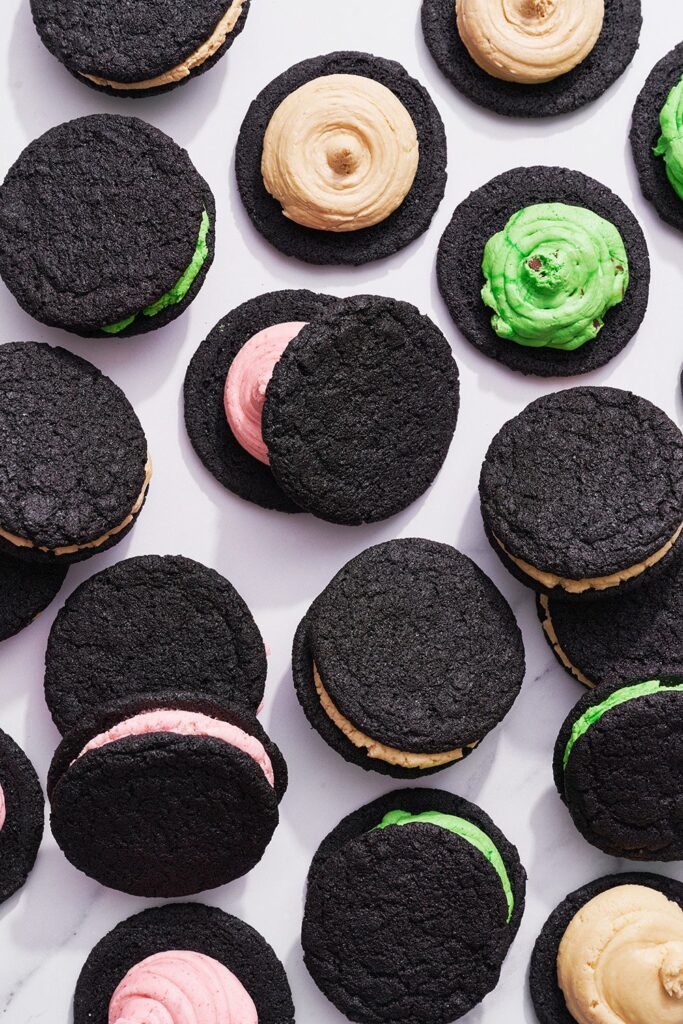
The secret to authentic homemade Oreo cookies lies in achieving the right dough consistency. When creaming butter and sugar, beat until light and fluffy—about 3-4 minutes—as this incorporates air for proper texture.
Dark cocoa powder is essential for that classic Oreo color and flavor. Sift it with the flour to prevent dry lumps in your dough.
The dough should be firm but pliable. If it’s too sticky, refrigerate for 10-15 minutes—just enough to firm up without becoming brittle. Avoid over-chilling as this makes the dough difficult to work with.
Test the dough by pressing with your finger—it should leave a slight impression without sticking heavily to your skin.
Ensuring Consistent Cookie Shapes

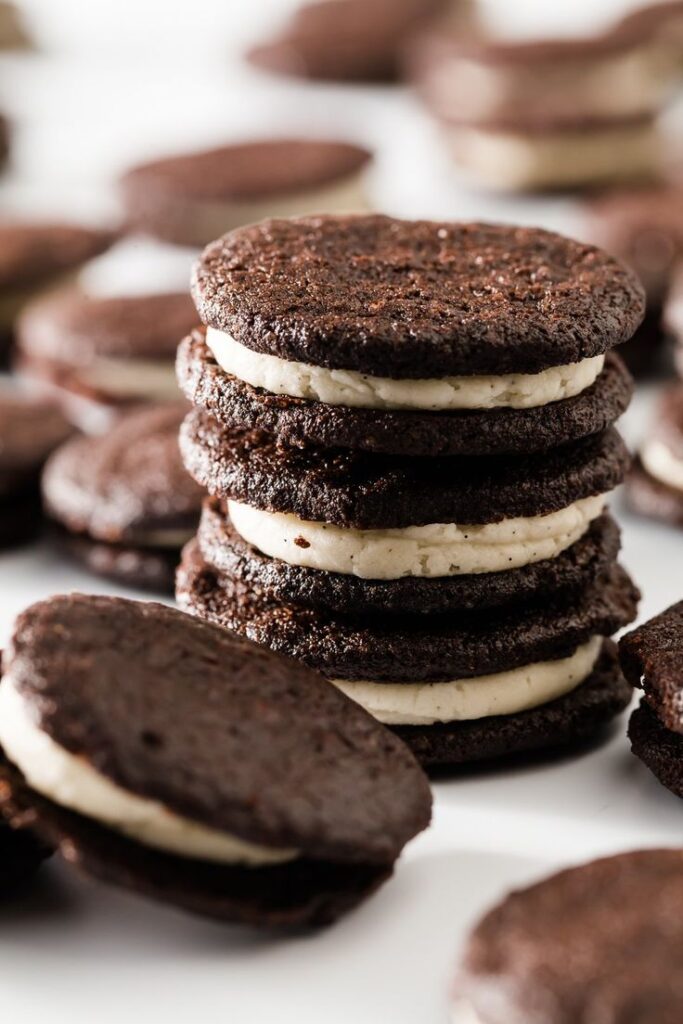
For professional-looking Oreos, uniform size and shape are crucial. Use a small cookie scoop (about 1½ tablespoon capacity) to portion dough evenly.
Rolling technique: Place dough balls between two sheets of parchment paper and flatten with a glass or measuring cup to approximately ¼-inch thickness.
Use a 2-inch round cookie cutter for the classic Oreo shape. For perfectly flat cookies, freeze the cut shapes for 5 minutes before baking.
Space cookies 1½ inches apart on baking sheets lined with parchment paper. They spread minimally but need room to bake properly.
Watch closely during baking—these dark cookies can burn easily without showing obvious color change. They’re done when the surface appears dry, typically 8-10 minutes.
