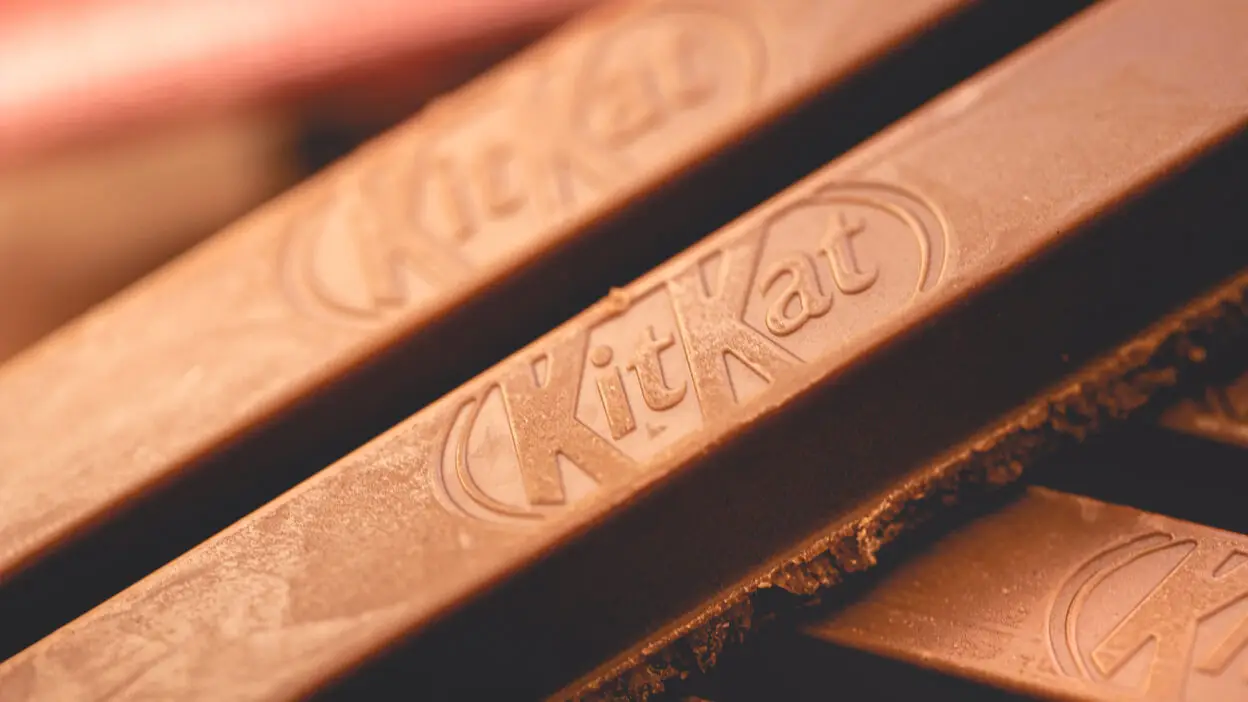
Making Kit Kats at home is an enjoyable and rewarding experience for anyone with a sweet tooth. With just a few simple ingredients and some creativity, it’s possible to replicate the delightful crunch and smooth chocolate of this beloved treat. Whether for a special occasion or a satisfying snack, homemade Kit Kats promise to deliver that familiar taste in a fun, homemade way.
This process often involves layering crispy wafers with chocolate, creating the signature texture that Kit Kats are known for. Many recipes use readily available items, making it easy for anyone to get started without needing specialized equipment or hard-to-find ingredients.
With options ranging from quick two-ingredient recipes to more involved methods that include making wafer sheets from scratch, there’s a version for every level of kitchen adventurer. Exploring these recipes can be a delightful journey into chocolate-making that brings a new appreciation for this iconic candy.
Gathering Ingredients
To create homemade Kit Kat bars, it’s essential to gather the right ingredients. This ensures a successful outcome that closely resembles the original candy. Key components include chocolate, sugars, milk powder, and a few additional essentials for flavor and texture.
Chocolate Selection


Choosing the right chocolate is crucial for replicating the signature taste of Kit Kat. Options include:
- Chocolate Chips: Easy to find and melt, these are a popular choice.
- Candy Melts: These come in various flavors and colors, offering versatility.
- Chocolate Bars: High-quality dark or milk chocolate bars provide rich flavor.
For the best results, select chocolate with a cocoa content that suits personal taste preferences. Melting must be done gently to avoid burning. Using a microwave or double boiler helps achieve a smooth consistency for coating the wafers.
Choosing the Right Sugar


Sugar impacts both flavor and texture. The recipe typically requires:
- Granulated Sugar: Adds sweetness and is essential in most baking recipes.
- Brown Sugar: Provides moisture and a hint of caramel flavor.
Using a mix of both sugars can enhance the depth of sweetness. It’s also important to check for freshness; stale sugars can affect the final product. Incorporating the right amounts ensures that the homemade Kit Kat achieves a balanced sweetness reminiscent of store-bought versions.
Milk Powder and Other Essentials


In addition to chocolate and sugar, milk powder is vital for creaminess. Other essential ingredients include:
- Wafers: Light, crispy wafers form the base of the bars. Store-bought options are convenient.
- Butter: Adds richness and helps bind the ingredients together.
When selecting milk powder, opt for non-fat for a lighter texture or whole milk powder for creaminess. Make sure all ingredients are fresh to maximize flavor. Having everything ready before starting simplifies the process, leading to delicious homemade Kit Kats.
Creating the KitKat Base
Making the base for homemade KitKats is a fun and rewarding process. It involves mixing dry ingredients to create a crisp wafer, preparing a smooth chocolate coating, and expertly combining all components for that signature KitKat taste.
Mixing the Dry Ingredients
To create the perfect wafer base, start with key dry ingredients. They typically include:
- All-purpose flour: 1 cup
- Sugar: 1/4 cup
- Cornstarch: 1/4 cup
- Baking powder: 1 teaspoon
- Salt: a pinch
In a mixing bowl, combine the flour, sugar, cornstarch, baking powder, and salt. Whisk them together until fully blended. This combination helps achieve a light and crispy texture.
Next, add melted butter (1/2 cup) to the dry mix. Continue mixing until the dough holds together. Roll it out to about 1/8-inch thickness on a floured surface. Use a sharp knife or cookie cutter to cut it into rectangles, roughly 2 inches by 4 inches. Bake these sections in a preheated oven at 350°F (175°C) for about 12-15 minutes, or until golden brown.
Preparing the Chocolate


The chocolate coating is a crucial part of the KitKat experience. Begin by selecting chocolate chips, either milk or dark, based on your preferred taste.
In a microwave-safe bowl, pour in 1 cup of chocolate chips. Microwave in 30-second intervals, stirring in between, until the chocolate is fully melted and smooth. Alternatively, using a double boiler can help maintain an even temperature without burning the chocolate.
To make the chocolate coating more pourable and glossy, consider adding 1 tablespoon of coconut oil. Mix it well until the oil is fully incorporated. This will enhance the texture and help the chocolate adhere better to the wafers.
Combining Components
Once the wafers have cooled, it’s time to bring everything together. Dip each baked wafer rectangle into the melted chocolate, ensuring it is fully coated. Gently tap off any excess chocolate.
Place the coated wafers on a parchment-lined baking sheet. For added texture, sprinkle with crushed wafer crumbs or additional chocolate bits if desired.
After all the pieces are coated, transfer the baking sheet to the refrigerator. Let the chocolate set for about 30 minutes. This final step allows the components to solidify and meld together, creating that classic KitKat structure.
Shaping and Cooling


Creating the perfect homemade Kit Kat involves a few critical steps in shaping and cooling. Each part plays a key role in achieving the classic bar’s texture and consistency.
Molding the Wafers
To start, he or she should prepare a Kit Kat mold, which can often be found online or in specialty kitchen stores. If a mold is not available, a small rectangular baking dish can be used.
The next step is to gather wafer sheets, which form the base of the bars. These can be purchased or made from scratch using a simple wafer recipe. After laying the wafers in the mold, it is essential to ensure they fit snugly. This creates a solid foundation for the layers.
When working with the mold, it’s helpful to lightly grease it with cooking spray. This will make it easier to remove the completed bars later.
Layering the Chocolate
Once the wafers are molded, it’s time to melt the chocolate. Using a double boiler or a microwave, one should melt good quality chocolate until it reaches a smooth consistency. It’s suggested to use a chocolate that mimics the original Kit Kat flavor, such as milk chocolate or dark chocolate.
Pour a layer of melted chocolate over the wafers, ensuring an even distribution. It is important to tap the mold gently on the counter to eliminate air bubbles and ensure that the chocolate seeps into every crevice.
After the first layer, another wafer layer should be added, followed by more melted chocolate. This process may be repeated until the mold is filled, ensuring that each layer is smooth and well-integrated.
Setting the Bars
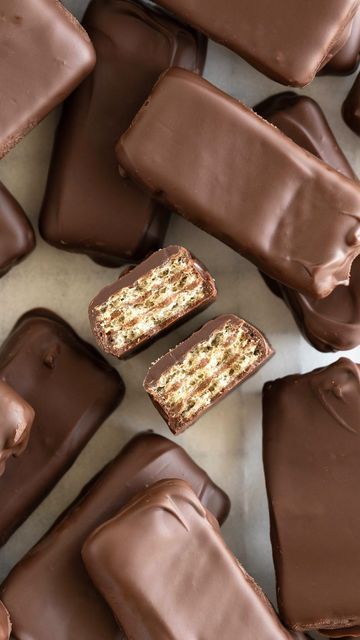

Once the chocolate layering is complete, the next crucial step is to allow the bars to set. The molds should be placed in the refrigerator for approximately 30 to 60 minutes. This cooling time is vital for helping the chocolate solidify.
It’s important not to rush this step, as improper cooling can lead to a soft texture that doesn’t hold the shape. After sufficient cooling, gently remove the bars from the mold. If any sticking occurs, a gentle twist or tap can help release the bars without damage.
Lastly, for an extra touch, the bars can be returned to the fridge for a few minutes after cutting to firm up again before serving.
Final Touches


After the KitKat has set properly, it’s time to give it the finishing touches. This involves cutting your creation into pieces and adding some flair to make it visually appealing.
Cutting into Pieces
For the perfect bite-sized pieces, it’s essential to use a sharp knife. She should ensure the KitKat is firm enough—chilling it in the fridge for at least 30 minutes helps with this.
- Mark the Sections: Before cutting, she can lightly score the top with a knife to create even sections.
- Cutting Technique: When making cuts, she should apply gentle pressure and use smooth, straight motions to avoid crumbling the layers.
- Ideal Size: A typical KitKat bar is divided into four fingers. Each piece should be roughly 1-inch wide to replicate the classic shape.
With practice, her cutting technique will yield perfectly sized KitKat pieces ready for enjoying or sharing.
Decorating Your KitKat
Decorating adds an extra special touch to her homemade KitKat. She can let her creativity shine while enhancing flavor and presentation.
- Chocolate Drizzle: Melting chocolate and drizzling it over the bars can add a decorative finish. White, dark, or milk chocolate options are available.
- Toppings: Sprinkling toppings like crushed nuts, colorful sprinkles, or sea salt can make the bars visually appealing and add texture.
- Presentation: For serving, she might use a nice plate or a decorative box. Arranging them creatively can make them a great gift or treat.
With these final touches, her homemade KitKats will be ready to impress anyone who tries them.
