Ever wondered if you could create paper that’s not just for writing but also for eating? Edible paper is a versatile culinary creation that can transform ordinary desserts into extraordinary treats. It’s perfect for special occasions, creative food presentations, or simply for fun kitchen experiments with family.
Making edible paper at home requires just a few basic ingredients like potato starch, food coloring, and flavorings. The process is surprisingly simple, allowing anyone to create custom designs, decorations, and even edible photographs that can be placed on cakes, cookies, or enjoyed on their own.
This delightful culinary craft bridges the gap between art and food, offering endless possibilities for creative expression through something we typically only write on. Whether you’re a professional baker or just someone looking for a unique weekend project, edible paper making is an accessible skill worth exploring.
What Is Edible Paper?
Edible paper is a thin, consumable sheet made from food-grade ingredients that can be eaten safely. It serves both decorative and practical purposes in food preparation and presentation.
Types of Edible Paper
Rice Paper is one of the most common types, made from rice flour and water. It’s translucent and often used in Vietnamese spring rolls and desserts. The texture is slightly chewy when moistened.
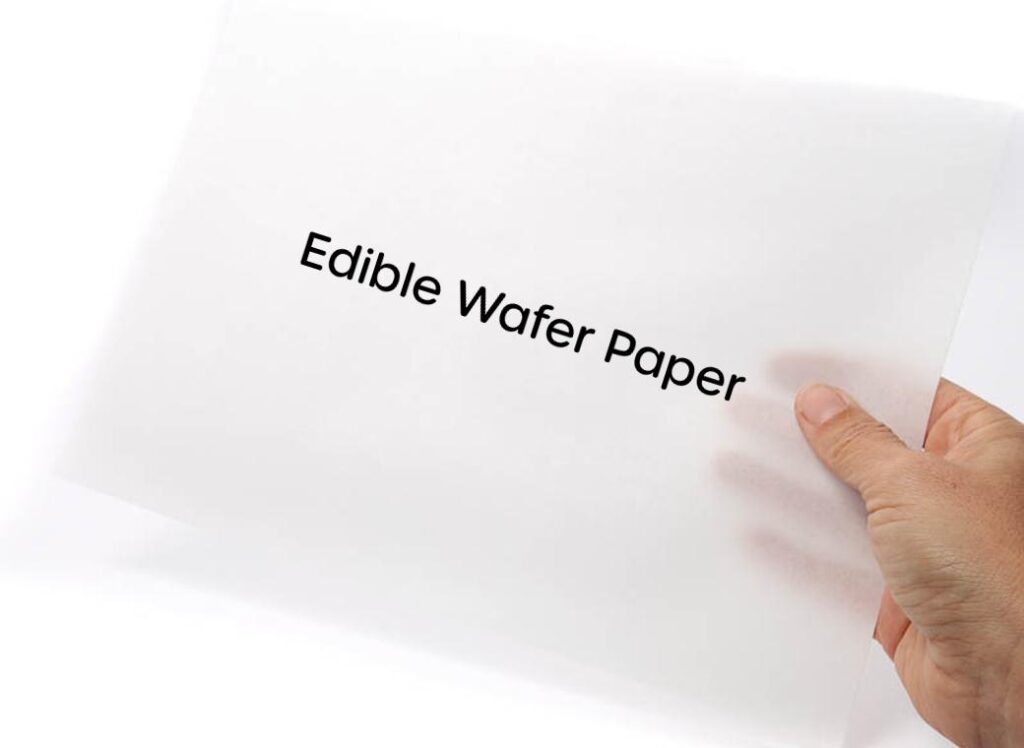
Wafer Paper consists primarily of potato starch, water, and vegetable oil. This type is popular in cake decorating because it has a neutral taste and dissolves easily when in contact with moisture.
Sugar Sheets are colorful, flexible sheets made from sugar, cornstarch, and food coloring. These sheets are perfect for vibrant cake decorations and can be cut into various shapes.
Chocolate Transfer Sheets contain cocoa butter patterns on an edible backing. Bakers use these to imprint designs onto chocolate or fondant surfaces.
Edible Film is an ultra-thin, transparent layer made from modified food starch. It’s often used to wrap medications for easier swallowing.

Common Uses
Cake Decorating is perhaps the most popular application for edible paper. Bakers print custom images on sheets to create personalized birthday cakes, wedding cakes, and holiday treats.
Food Packaging is an innovative use, where edible films replace plastic wrappers for individual portions. This eco-friendly approach reduces waste while adding flavor.
Culinary Presentation employs edible paper as artistic elements on plates. Chefs create edible flowers, butterflies, or abstract shapes that complement their dishes visually and texturally.
Medicine Delivery benefits from edible films that mask bitter medications. These dissolve quickly in the mouth, making them ideal for pediatric and geriatric patients.
Novelty Items like edible greeting cards, fortune cookies with custom messages, and edible business cards represent creative applications beyond traditional food purposes.
Ingredients for Edible Paper
Creating edible paper requires specific ingredients that provide the right texture and taste. The foundation is a starch base which gives structure, while flavorings and colorings add the desired appearance and taste.
Choosing the Right Starch
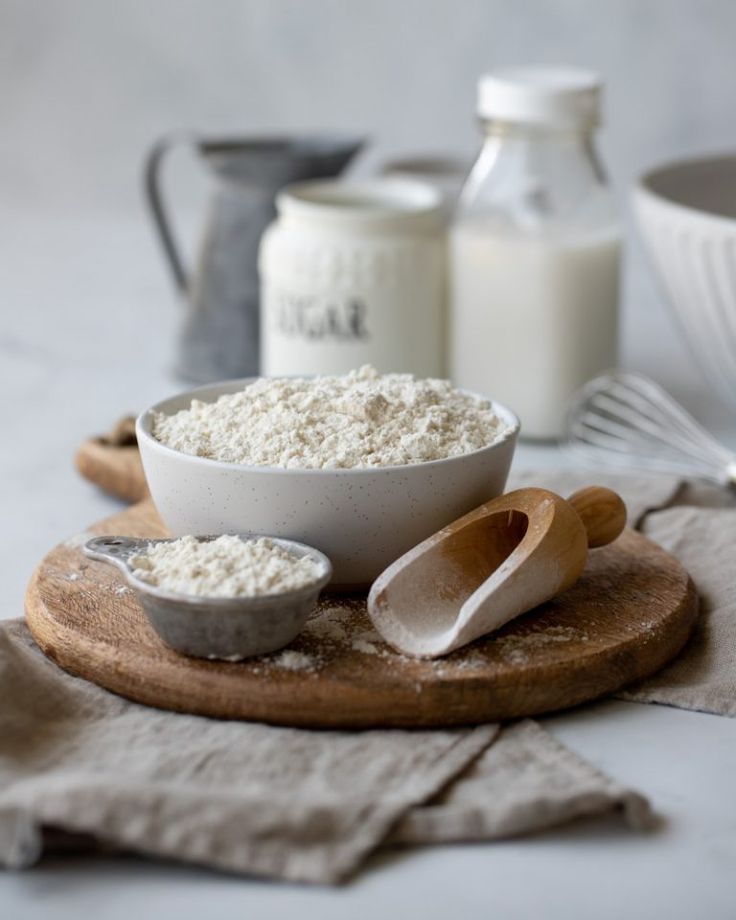
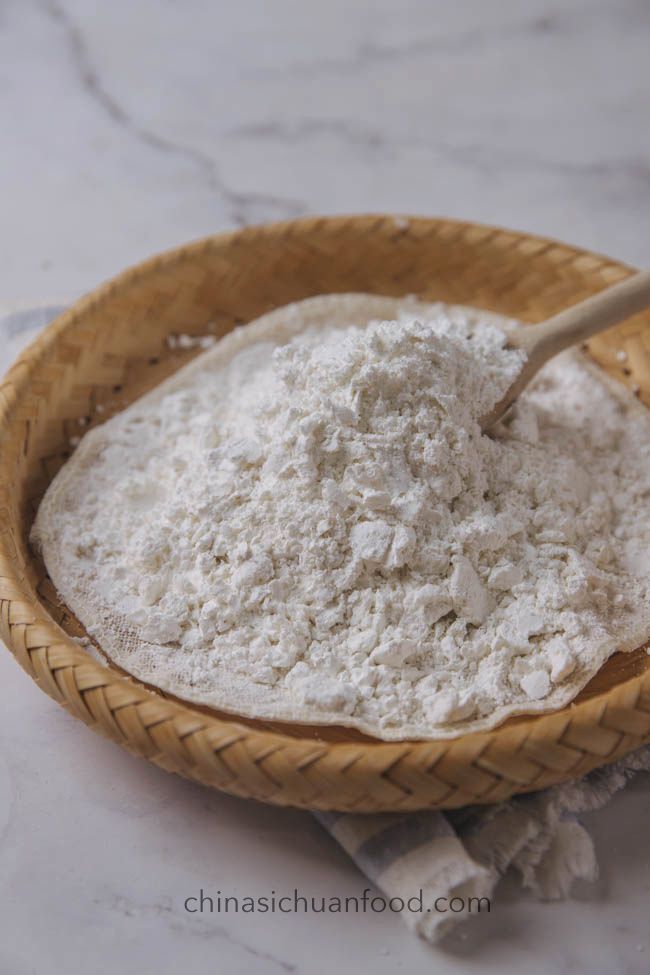
Rice paper is one of the most popular bases for edible paper. It’s made from rice flour mixed with water and salt, creating a thin, translucent sheet that has minimal flavor.
Potato starch offers another excellent option, producing a slightly thicker paper with a neutral taste profile. It blends well with other ingredients without overwhelming them.
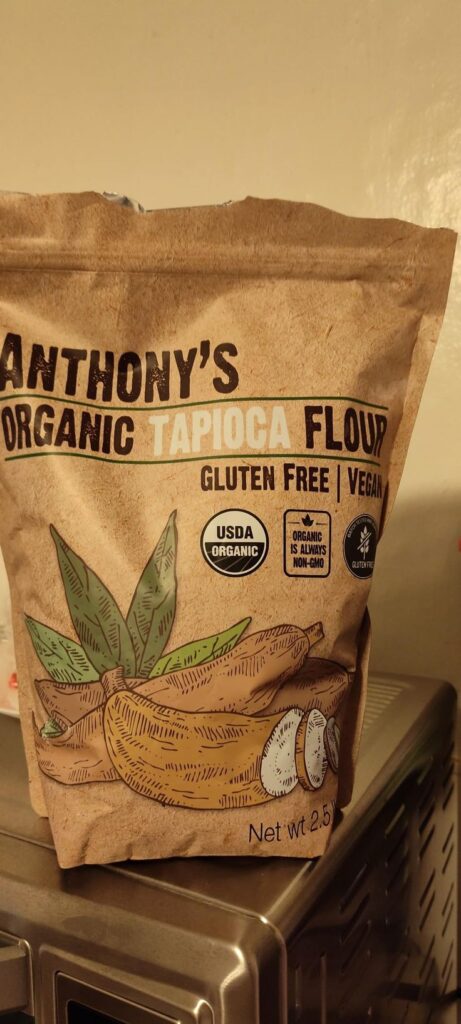
Tapioca starch creates a more elastic paper that’s ideal for decorative elements that need to hold their shape. This type works particularly well when you need flexibility in your edible creations.
Common Starch Options:
- Rice flour/starch
- Potato starch
- Tapioca starch
- Cornstarch
The ratio of starch to water is crucial. Generally, a 1:2 ratio of starch to water creates the ideal consistency, though this may vary depending on the specific starch used.
Flavorings and Colorings
Natural flavorings like vanilla extract, fruit juices, or honey can transform plain edible paper into delicious treats. These should be added sparingly—just 1-2 teaspoons per cup of starch mixture—to avoid making the paper too wet.
Food coloring comes in various forms, each with specific uses:
Types of Food Coloring:
- Liquid drops (easy to use but can make paper soggy)
- Gel colors (more concentrated, less moisture)
- Powder colors (best for maintaining paper texture)
Extracts like peppermint, almond, or lemon add subtle flavors without affecting texture. Essential oils can also be used but must be food-grade and used in tiny amounts—typically just 2-3 drops per batch.
Natural colorings like beetroot juice, turmeric, or spinach powder offer chemical-free alternatives. These ingredients may slightly alter texture and require adjustments to the liquid components in your recipe.
Creating Your Edible Paper
The process of making edible paper requires careful preparation, precise mixing techniques, and proper drying methods to achieve the perfect texture and taste. With the right approach, you can create paper-like sheets that are completely consumable.
Preparing the Workspace

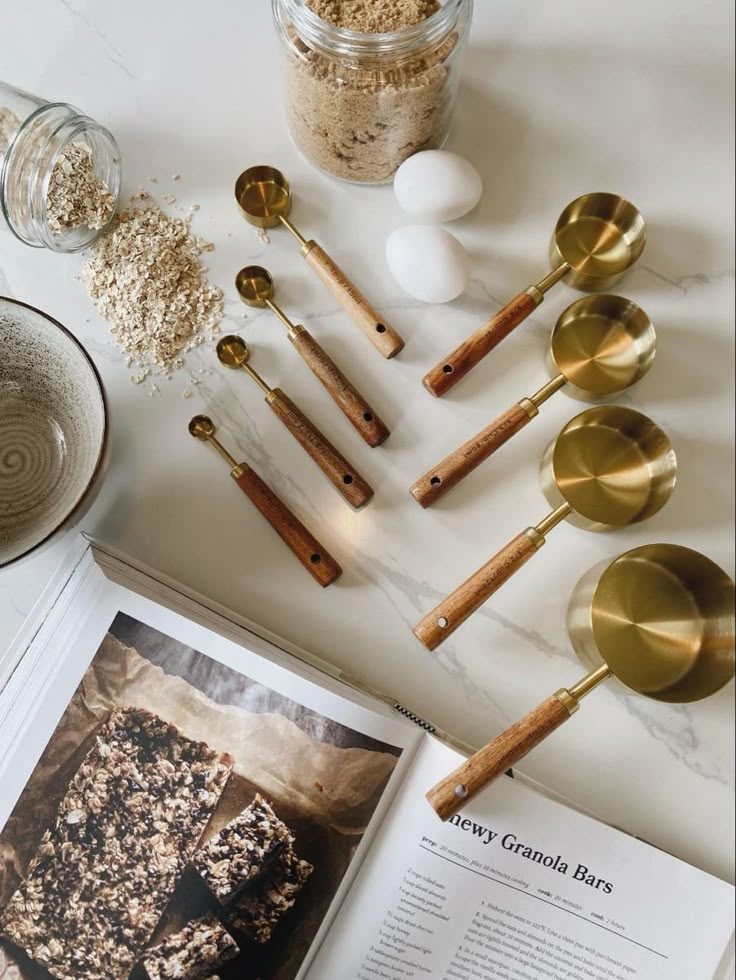
Start by gathering all necessary ingredients including potato starch, rice flour, water, and any desired flavorings or food coloring. Cleanliness is crucial when making edible paper, so thoroughly sanitize all surfaces before beginning.
Cover your work area with parchment paper to prevent sticking and make cleanup easier. Have these tools ready:
- Mixing bowls (preferably glass)
- Measuring cups and spoons
- Silicone spatulas
- Baking sheets or dehydrator trays
- Offset spatula for spreading
Temperature and humidity can affect your results, so aim for a cool, dry environment. Avoid working near open windows or running fans that might introduce contaminants or cause uneven drying.
Mixing and Spreading the Batter

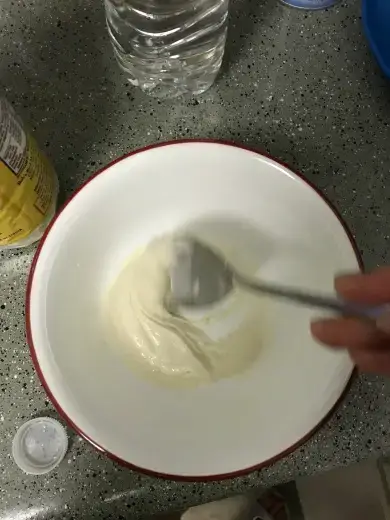
Combine 1 cup rice flour with ½ cup potato starch in a large bowl. Mix thoroughly to ensure even distribution of ingredients.
Gradually add 2½ cups of water while stirring constantly to prevent lumps. The consistency should resemble thin pancake batter. If too thick, add water a tablespoon at a time.
For colored paper, divide the mixture into separate bowls and add 3-5 drops of food coloring to each. Flavoring extracts like vanilla or mint can be added (¼ teaspoon per batch) for taste.
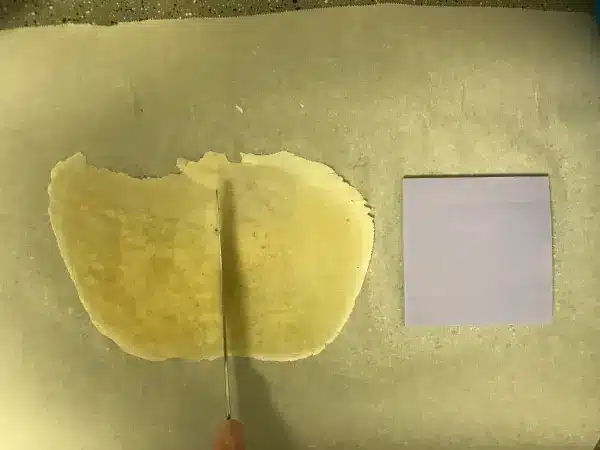

Pour a thin layer of batter onto parchment-lined baking sheets. Use an offset spatula to spread it evenly to approximately 1/16 inch thickness. The thinner the spread, the more paper-like the final product will be.
Drying Techniques
Three main methods work well for drying edible paper. Oven drying is most common – set to the lowest temperature (around 170°F/75°C) and leave the door slightly ajar to release moisture.
Dehydrators offer precise temperature control, typically requiring 3-4 hours at 135°F (57°C). This method produces the most consistent results with even drying throughout.
Natural air drying works in dry climates but takes 24-48 hours. Place sheets in a dust-free area away from direct sunlight.
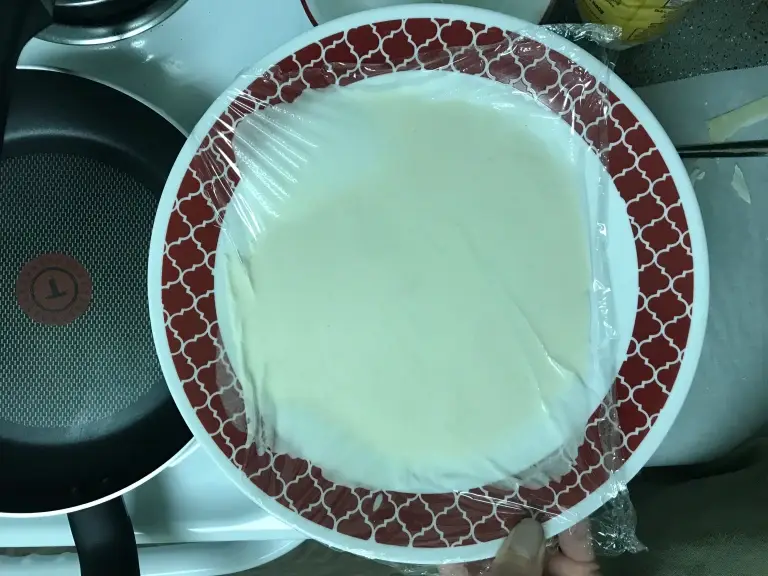
Test for doneness by gently lifting an edge – properly dried paper should peel away easily without sticking. The finished product should be flexible yet firm enough to handle without tearing.
Decorating Your Edible Paper
Once your edible paper is made, it becomes a blank canvas ready for artistic expression. Adding colors and designs transforms plain edible paper into beautiful decorative elements for cakes, cookies, and other treats.
https://www.youtube.com/watch?v=HKtrh1s4E9o
Edible Inks and Paints
Food-grade coloring agents come in various forms for decorating edible paper. Liquid food coloring works well for painting broad areas, while gel colors offer more vibrant hues with less moisture.
For detailed work, powdered food colors mixed with a small amount of clear alcohol (like vodka) create paint that dries quickly without making the paper soggy. The alcohol evaporates, leaving only the color behind.
Natural colorings derived from fruits, vegetables, and spices provide gentler alternatives to synthetic options. Beetroot juice creates lovely pink and red shades, while turmeric powder mixed with a drop of water yields golden yellow tones.
Food-grade lustre dusts can add metallic or pearlescent finishes. Apply these with a dry brush for a subtle shimmer or mix with clear extract for more defined patterns.
Printing Images and Text


Specialized edible printers use food-grade ink cartridges to print directly onto edible paper sheets. These printers function similarly to regular printers but require careful maintenance to ensure food safety.
Before printing, design images using photo editing software and adjust colors to account for how they’ll appear on the edible medium. Bold, simple designs typically work better than intricate patterns with fine details.
For those without edible printers, transfer sheets offer an alternative. These involve printing designs onto special papers that transfer food coloring to the edible surface when moistened slightly.
Store decorated papers flat in airtight containers away from humidity and direct light. Separate layers with parchment paper to prevent sticking and color transfer between sheets.
Storage and Preservation
Proper storage techniques significantly extend the life of edible paper and maintain its quality. Temperature, humidity, and packaging all play crucial roles in keeping your edible paper creations fresh and ready to use.
Best Practices for Freshness
Store edible paper in airtight containers to prevent moisture absorption, which can cause the paper to become soggy and lose its structure. Glass jars with tight-fitting lids or resealable plastic bags work exceptionally well for this purpose.
Keep edible paper away from direct sunlight and heat sources, as these can cause fading of colors and affect taste. A cool, dry pantry is an ideal storage location.
For extra protection, place a food-grade desiccant packet in the storage container to absorb any excess moisture. Alternatively, separate layers with parchment paper to prevent them from sticking together.
Temperature recommendation: Store at 60-70°F (15-21°C) with humidity below 40% for optimal preservation.
Shelf Life
Properly stored edible paper typically lasts 6-12 months, though this varies based on ingredients and storage conditions. Papers made with preservatives naturally last longer than those made with only natural ingredients.
Signs of spoilage include discoloration, off odors, or visible mold growth. If any of these appear, discard the paper immediately.
Freezing can extend shelf life up to 18 months. Wrap the paper in plastic wrap first, then place in freezer bags with air removed. Allow frozen edible paper to thaw at room temperature for 1-2 hours before use.
For commercial applications, vacuum sealing provides the longest shelf life while maintaining quality and appearance.


