Making chocolate-covered strawberries is a delightful and straightforward process that anyone can enjoy. To create this sweet treat, one simply needs fresh strawberries and melted chocolate, which can transform an ordinary snack into an elegant dessert. With just a couple of ingredients and minimal effort, these delicious treats are perfect for special occasions or a simple indulgence.
To start, the strawberries need to be perfectly ripe and washed to ensure the best flavor and presentation. Pairing them with either dark or white chocolate allows for customization, appealing to various taste preferences. Whether gifting someone special or planning a fun dessert for a gathering, chocolate-covered strawberries never fail to impress and satisfy.
Readers will discover easy steps and tips for creating beautiful chocolate-covered strawberries that not only taste great but also look stunning. The process can be a fun activity to do alone or with friends, making it a perfect addition to any culinary adventure.
Essential Ingredients for Chocolate Strawberry
When preparing chocolate-covered strawberries, selecting quality ingredients is crucial. The right choice of strawberries and chocolate can enhance flavor and presentation. Here’s what to consider when making these delightful treats.
Choosing the Right Strawberries


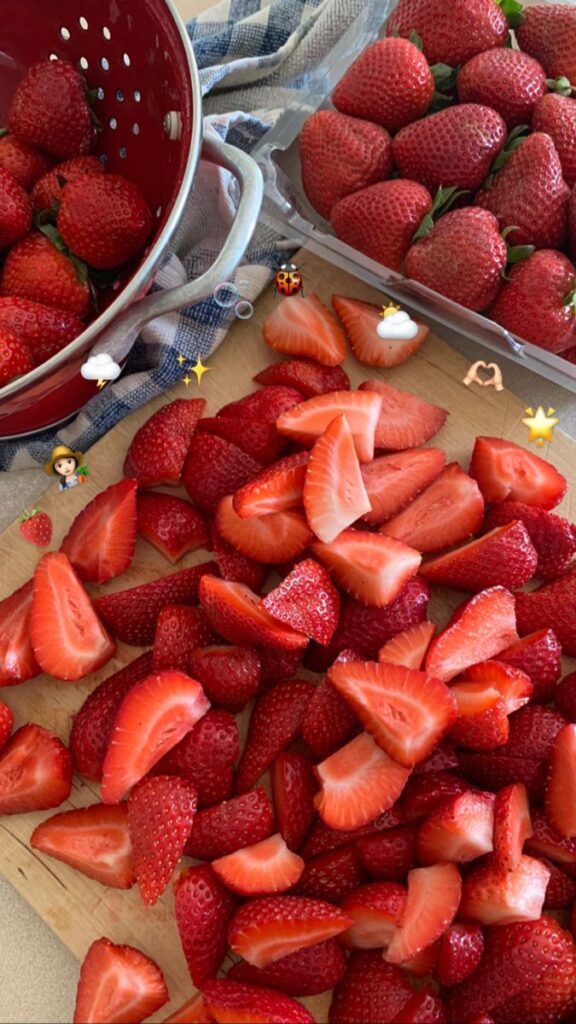
Fresh, ripe strawberries are essential for the best results. Look for those that are large, red, and firm. These characteristics contribute to a juicy flavor and a satisfying texture.
- Season: Spring is the ideal time for strawberries, as they’re in peak season and more flavorful.
- Cleaning: Rinse strawberries gently. Ensure they are completely dry before dipping; moisture can cause chocolate to seize.
- Stems: Consider leaving the green stems on for easy handling and an appealing look.
Choosing seasonal, high-quality strawberries makes a notable difference in flavor and enjoyment.
Types of Chocolate for Dipping


The type of chocolate used for dipping is just as important as the strawberries. There are several options to choose from, each offering a unique taste and texture.
- Milk Chocolate: Classic choice; sweet and creamy.
- Dark Chocolate: Rich flavor with higher cocoa content; great for a more intense chocolate experience.
- White Chocolate: Adds a touch of sweetness and can be drizzled for decoration.
Using chocolate chips or chopped bars works well for melting. For a smoother texture, consider mixing in a small amount of coconut oil or shortening while melting. This ensures a nice coating and shiny finish.
Step-by-Step Chocolate Strawberry Making Process
Creating chocolate-covered strawberries involves a few essential steps that ensure delightful results. Each step—from preparing the strawberries to setting the chocolate—needs attention to yield delicious treats.
Cleaning and Preparing the Strawberries


Start by selecting ripe, fresh strawberries. Look for berries that are vibrant red and free from blemishes.
Cleaning Process:
- Rinse the strawberries under cold water to remove any dirt.
- Gently pat them dry with paper towels. It’s important they are completely dry before dipping, as water can prevent chocolate from sticking.
For extra preparation, remove the green stems if desired. Inserting toothpicks into the tops makes dipping easier. Remember, the drier the strawberries, the smoother the chocolate coating will be.
Melting the Chocolate


Choose high-quality chocolate for the best flavor. Dark chocolate, milk chocolate, or white chocolate all work well.
Melting Techniques:
Double Boiler Method:
- Fill the bottom pot of the double boiler with water and heat it gently.
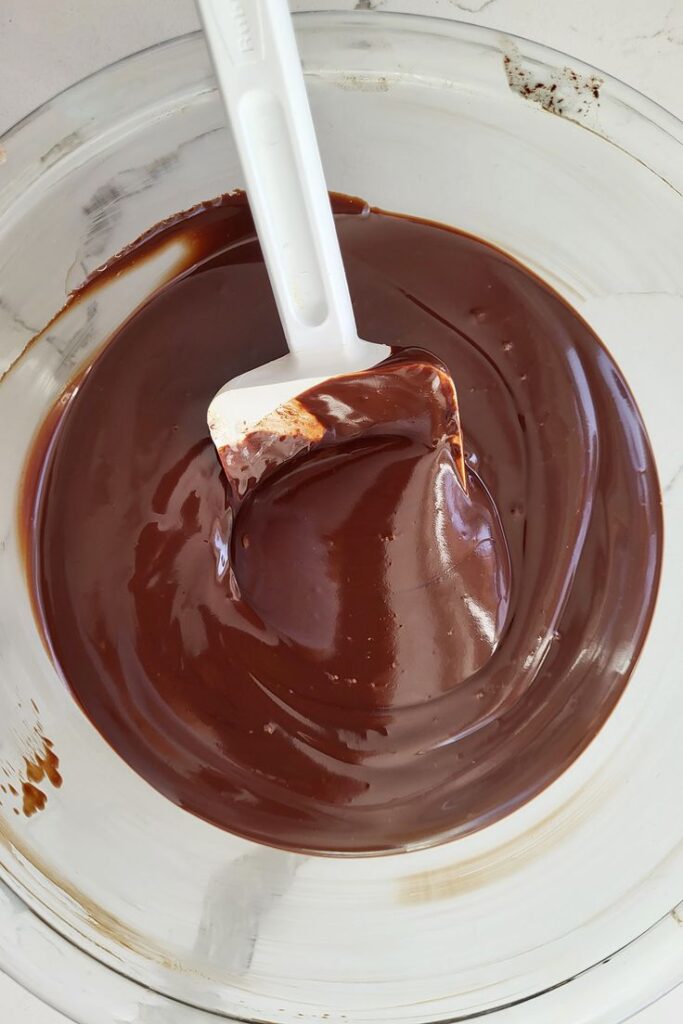
- Place chocolate pieces in the top pot, stirring often until melted and smooth.
Microwave Method:
- Place chocolate in a microwave-safe bowl.
- Heat in 20-second intervals, stirring between each, until smooth.
Ensure there’s no moisture in the bowl. Chocolate should not overheat, as it can seize up. A smooth consistency is key for an even coating.
Dipping Strawberries in Chocolate


Now it’s time for the fun part! Hold each strawberry by the stem and dip it into the melted chocolate.
Dipping Steps:
- Ensure the chocolate is at a comfortable consistency. If it’s too thick, it can be warmed slightly.
- Dip the strawberry until it’s completely covered, allowing the excess chocolate to drip off.
For added flair, consider rolling the dipped strawberries in toppings like crushed nuts, sprinkles, or coconut. This step can add texture and interest to the appearance.
Setting the Chocolate


After dipping, it’s crucial to properly set the chocolate for the best results.
Setting Methods:
Room Temperature:
- Place the dipped strawberries on a baking sheet lined with parchment paper.
- Let them sit at room temperature until the chocolate hardens, which usually takes about 30 minutes.
Refrigerator Method:
- For quicker results, place the strawberries in the refrigerator for about 15 minutes.
Avoid leaving them in the fridge for too long, as moisture can form on the chocolate. Once set, they’re ready to enjoy!
Creative Variations and Serving Suggestions
There are many ways to elevate chocolate-covered strawberries beyond the classic preparation. By adding decorative elements and unique presentation ideas, one can impress guests or create a delightful gift.
Decorative Add-Ons
Enhancing chocolate-covered strawberries with decorative add-ons can transform them into stunning treat. Consider incorporating the following toppings:
- Nuts: Chopped almonds, pistachios, or hazelnuts add a crunchy texture.
- Sprinkles: Colorful sprinkles or nonpareils bring a fun, festive touch.
- Coconut Flakes: Shredded coconut offers a tropical flavor and chewy texture.
- Drizzles: Use white or dark chocolate to drizzle patterns on the strawberries.
It’s simple to customize. After dipping strawberries, immediately roll or sprinkle with chosen toppings. Alternatively, let the chocolate set before adding drizzles for a polished look. These small details make a big impact.
Presentation Ideas


How the strawberries are displayed can enhance the overall experience. Here are some appealing presentation options:
- Strawberry Bouquets: Arrange decorated strawberries in a vase for a beautiful centerpiece.
- Chocolate Dipped Strawberry Skewers: Thread strawberries onto skewers for easy serving at parties.
- Themed Platters: Pair chocolate-covered strawberries with assorted fruits or desserts for an elegant spread.
Consider serving them on a decorative platter or placing them in individual treat boxes. A little creativity in presentation can turn a simple snack into an eye-catching dessert. By paying attention to these details, they can delight any audience.


