Mochi is a soft, chewy treat loved by many, and making it at home is easier than it might seem. Using just a few simple ingredients like glutinous rice flour, sugar, and water, anyone can create this delicious dessert with minimal effort.
The key to making homemade mochi is mixing the right ingredients and cooking them until they form a smooth, sticky dough that can be shaped and enjoyed fresh. This method does not require fancy tools or complicated steps, making it perfect for beginners who want to try something new in the kitchen.
With a little patience and the right recipe, making mochi can be a fun way to explore a tasty piece of Japanese culture right at home.
Essential Ingredients And Tools
Making mochi requires carefully chosen ingredients and simple tools. Understanding what to use improves the texture and taste of the final treat. There are a few key items that make a big difference.
Selecting The Right Glutinous Rice Flour
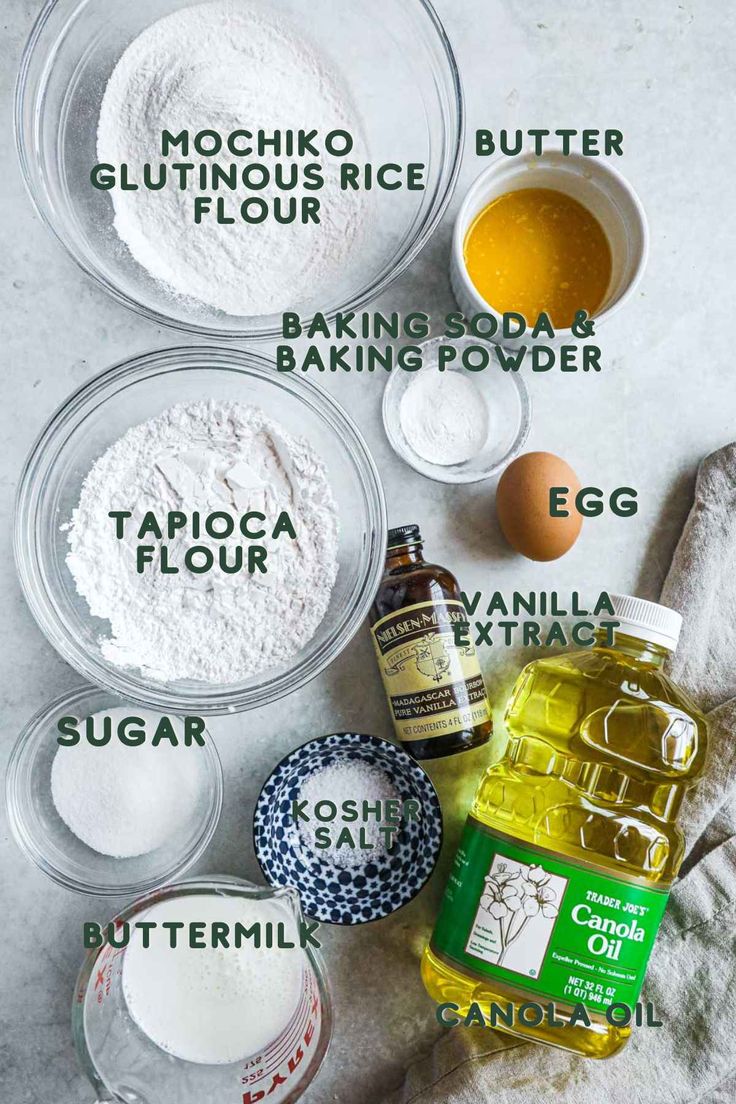

Glutinous rice flour, also called sweet rice flour, is the main ingredient in mochi. It has a sticky texture when cooked, which is essential for mochi’s chewy feel. Not all rice flours are the same, so it is important to find true glutinous rice flour.
Look for packaging that says “glutinous rice flour” or “mochiko.” This flour is finely ground and made specifically from sticky rice. Avoid using regular rice flour, as it won’t make the right texture.
Some brands even offer flavored rice flour, like green tea (matcha) or coconut, which can add variety without extra steps.
Must-Have Kitchen Utensils For Mochi
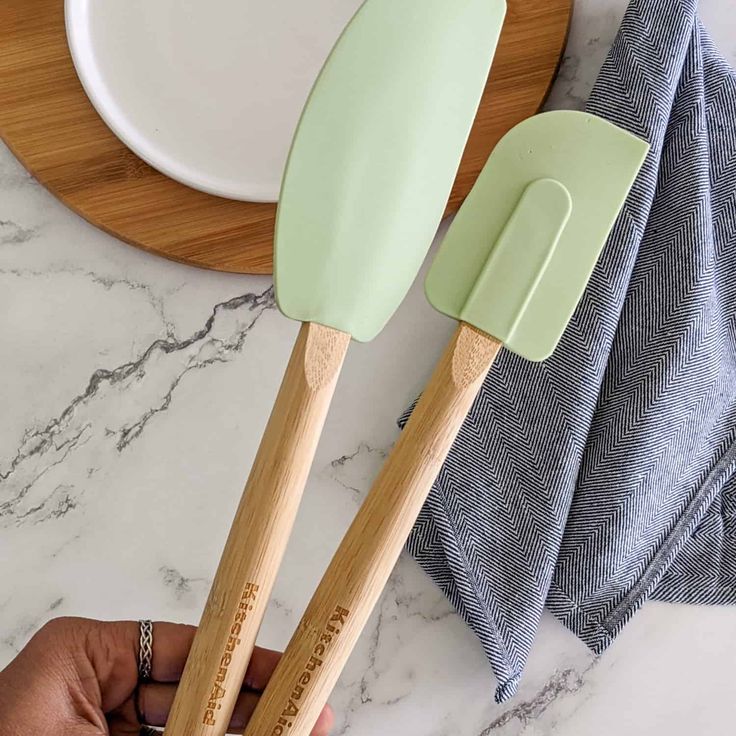
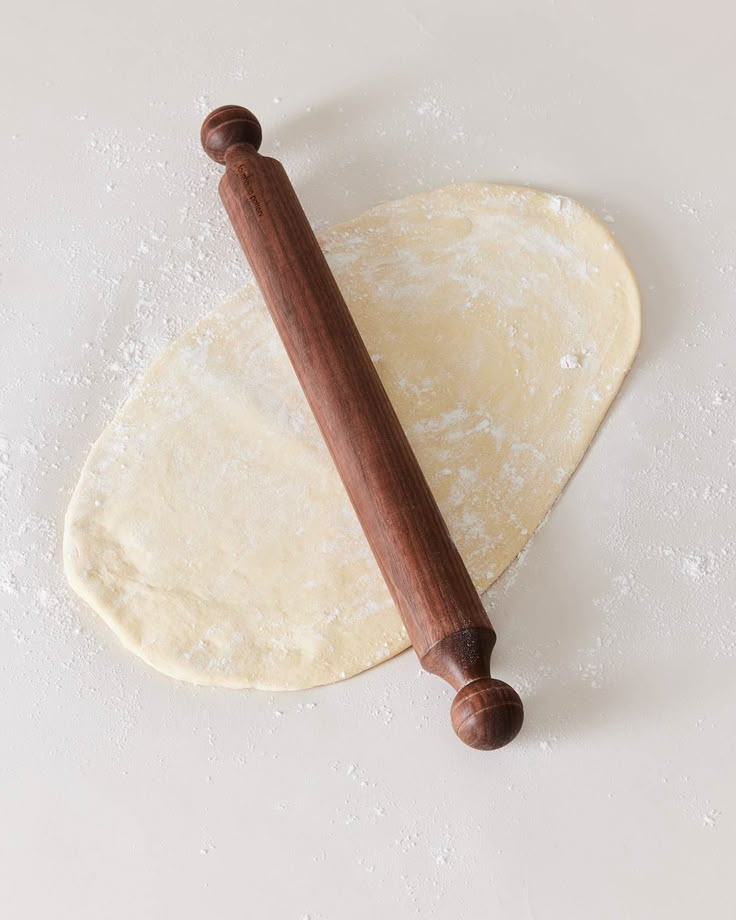
A few basic kitchen items are needed to make mochi easily at home. Most important is a microwave-safe bowl or a steaming tray depending on the cooking method used.
A rubber spatula helps to mix ingredients smoothly without sticking.
Powdered sugar or cornstarch is needed for dusting the surface and shaping the mochi without it sticking to hands.
A rolling pin and a sharp knife are helpful for flattening and cutting the dough into pieces if making larger mochi.
Substitute Ingredients For Homemade Mochi
If some ingredients aren’t available, simple substitutes can work for mochi recipes. Instead of water, some recipes use milk or coconut milk for a richer flavor.
Sugar can be replaced with alternatives like honey or maple syrup, but these may affect texture slightly.
Instead of using red bean paste, other fillings like peanut butter or fruit jams work well.
If glutinous rice flour is hard to find, it’s best not to substitute regular rice flour, but some Asian markets or online stores offer it at low cost.
Step-By-Step Guide To Making Homemade Mochi
Mochi making involves mixing the right ingredients, cooking the batter properly, and then shaping the chewy dough carefully. Each part needs attention to get the soft texture and avoid stickiness.
Preparing The Mochi Batter
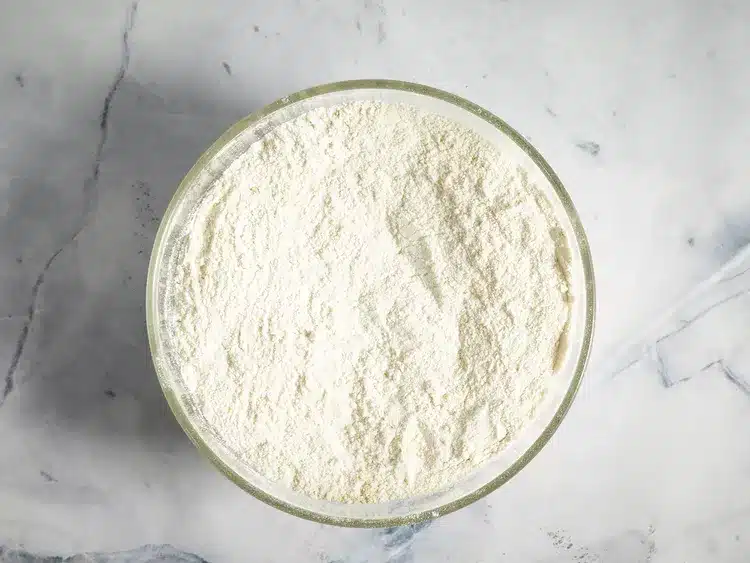

To start, measure out sweet rice flour, sugar, and water. Combine these in a microwave-safe bowl or a heatproof dish.
Stir the mixture until smooth and there are no lumps. The consistency should be like a thick batter.
Some recipes add a pinch of salt or cornstarch, but pure ingredients work fine. Use mochiko flour, a sweet rice flour, for the best results.
Steaming Or Microwaving Methods
The batter can be cooked by steaming or by microwaving. For steaming, pour the batter into a heatproof dish and steam over boiling water for about 15-20 minutes until it turns translucent and sticky.
If microwaving, cover the bowl loosely with plastic wrap. Heat it in 1-minute bursts, stirring in between, for about 3-4 minutes until the dough becomes sticky and thick.
Be careful not to overcook. The texture should be stretchy but firm enough to handle.
Shaping And Dusting Mochi
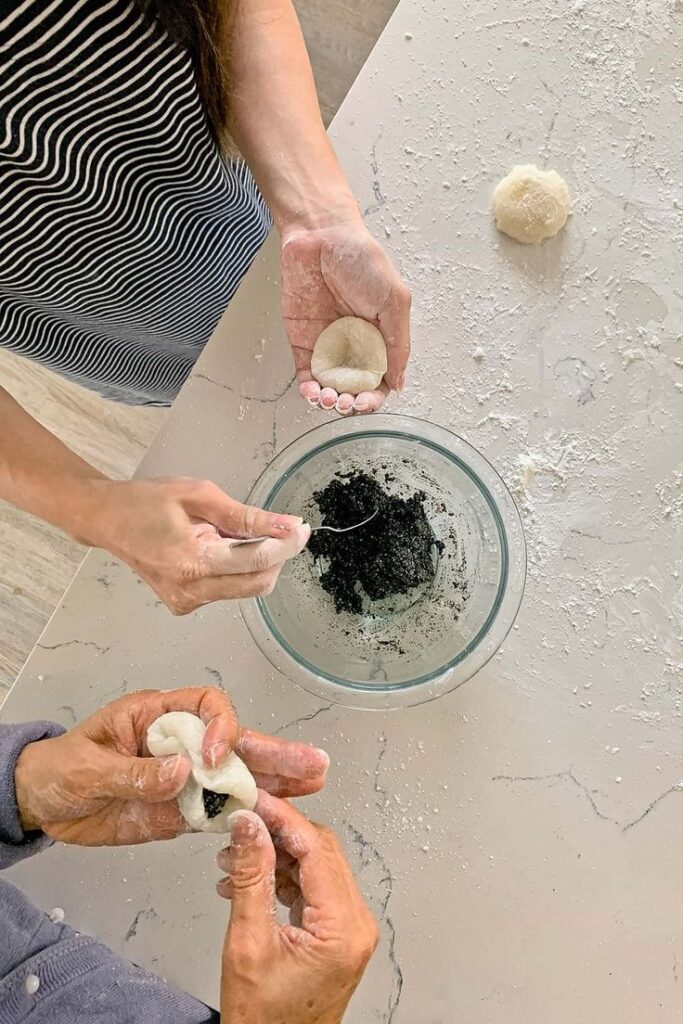
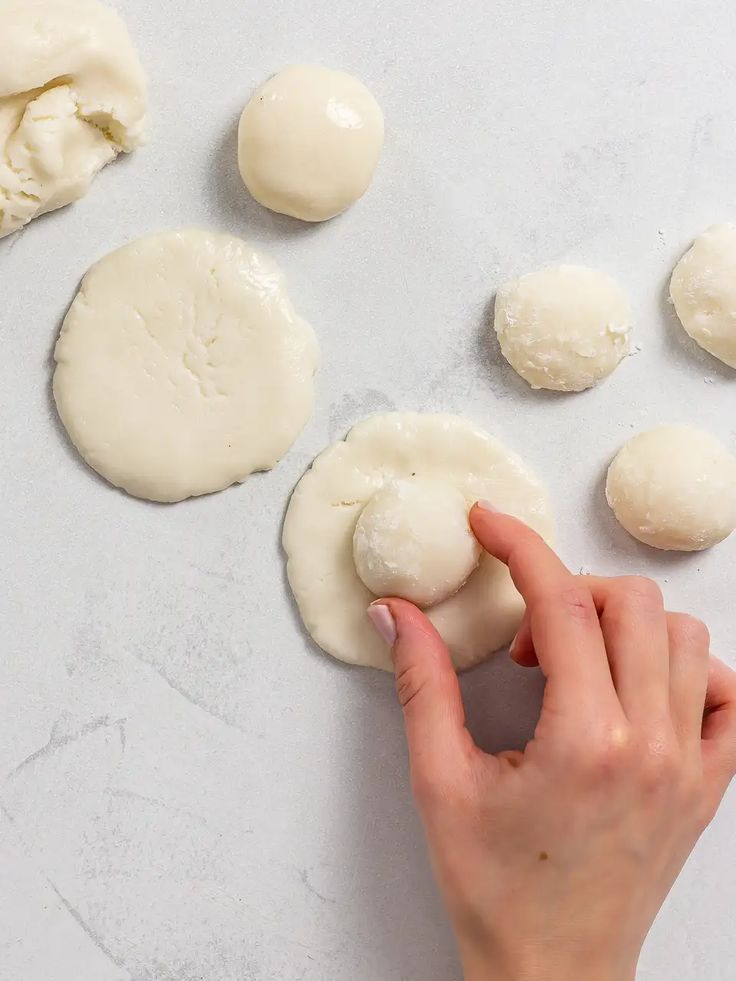
After cooking, let the mochi cool a bit. Dust a work surface and your hands with cornstarch or potato starch to prevent sticking.
Use a spatula to transfer the dough onto the floured surface, then divide it into small pieces.
Shape each piece by flattening it into a round disk. Dust each piece lightly again, especially the seams, to keep them from sticking together.
Once shaped, mochi can be filled with sweet red bean paste or enjoyed plain.
Creative Filling And Flavor Ideas
Mochi can be filled with many tasty options, from traditional pastes to fresh fruits and creamy custards. There are also choices that suit different diets, including vegan and allergy-sensitive options. These ideas add variety and fun to homemade mochi.
Classic Sweet Red Bean Fillings

Red bean paste, also called anko, is a favorite traditional filling. It is made from cooked and sweetened azuki beans. The flavor is mildly sweet and pairs well with the chewy texture of mochi.
There are two types of red bean paste: smooth (koshi-an) and chunky (tsubu-an). Smooth paste creates a soft texture inside, while chunky paste has a bit of texture from whole beans.
Red bean filling does not melt, making it easy to work with for mochi. It also has a long shelf life when stored properly. This classic filling offers a true taste of Japanese sweets.
Fruity And Creamy Variations
Fresh fruits like strawberries or mango chunks make mochi bright and refreshing. Strawberries work well when wrapped in red bean paste and mochi for extra sweetness.
Ice cream is another popular choice. It adds a cool, creamy contrast to the chewy mochi shell. Common flavors include vanilla, matcha, mango, and coconut.
Custard filling is smooth and rich. A homemade custard made from milk, sugar, and eggs can be cooled and then wrapped in mochi for a dessert with a soft cream center.
Vegan And Allergen-Friendly Options
For those avoiding dairy or eggs, vegan fillings are easy to make. Coconut milk custard or blended fruit purees work well.
Nut butters, like almond or peanut butter, can also be fillings. They add protein and a nutty flavor.
White bean paste (shiroan) is an alternative to red bean paste. It is mild and slightly sweet, suitable for sensitive taste buds.
These options allow many people to enjoy mochi without worry about allergens.
Storage, Serving, And Presentation Tips
Mochi needs gentle care to stay soft and fresh after making it. How it’s stored affects its texture. When serving, simple ideas can make it tastier. Presenting mochi well adds to the enjoyment and makes a great gift.
How To Keep Mochi Soft And Fresh
Mochi should be stored in an airtight container to keep moisture in. Wrapping each piece in plastic wrap before placing them together helps stop them from sticking. It’s best to keep mochi at room temperature if eating within a day.
For longer storage, mochi can be refrigerated but it may get firmer. To soften refrigerated mochi, warming it slightly in the microwave wrapped in plastic can help. Avoid freezing homemade mochi because it changes the texture once thawed.
Keeping mochi away from direct sunlight and heat also helps it last longer and stay chewy.
Serving Suggestions For Homemade Mochi
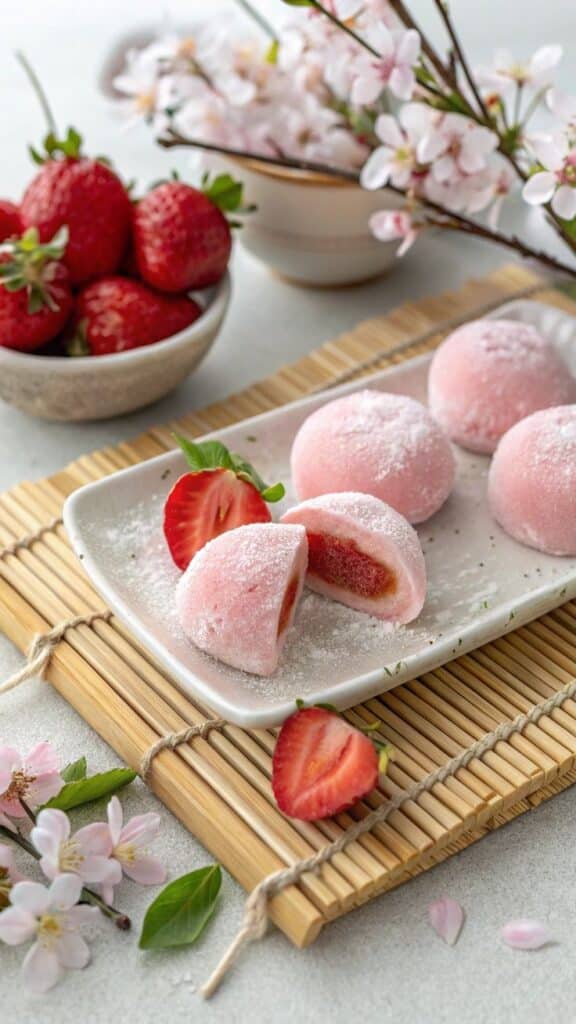
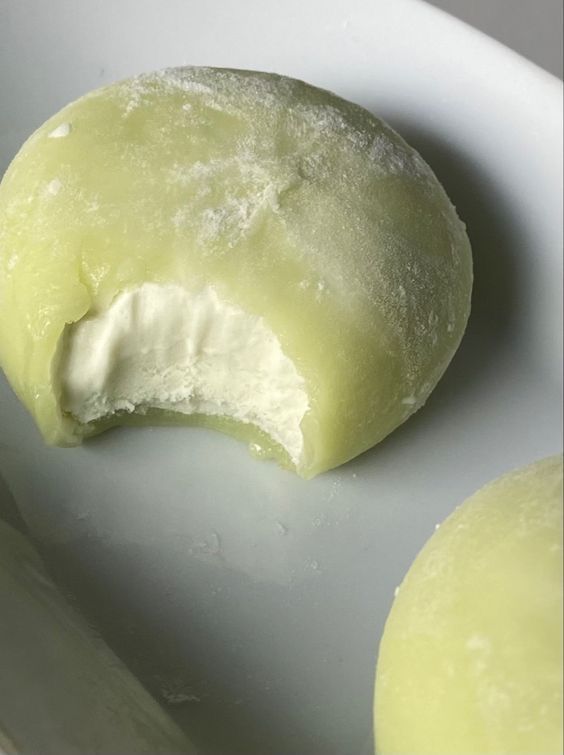
Mochi can be served plain or dusted with kinako (roasted soybean flour) or cocoa powder for extra flavor. A simple drizzle of sweetened condensed milk or honey can add a nice touch.
For a fun twist, mochi can be sliced and added to desserts like ice cream or fruit bowls. It also pairs well with green tea, which balances mochi’s sweetness.
Cut mochi into bite-sized pieces to make it easy to eat. Using chopsticks or small forks works well and looks good on the table.
Gifting And Plating Mochi Beautifully
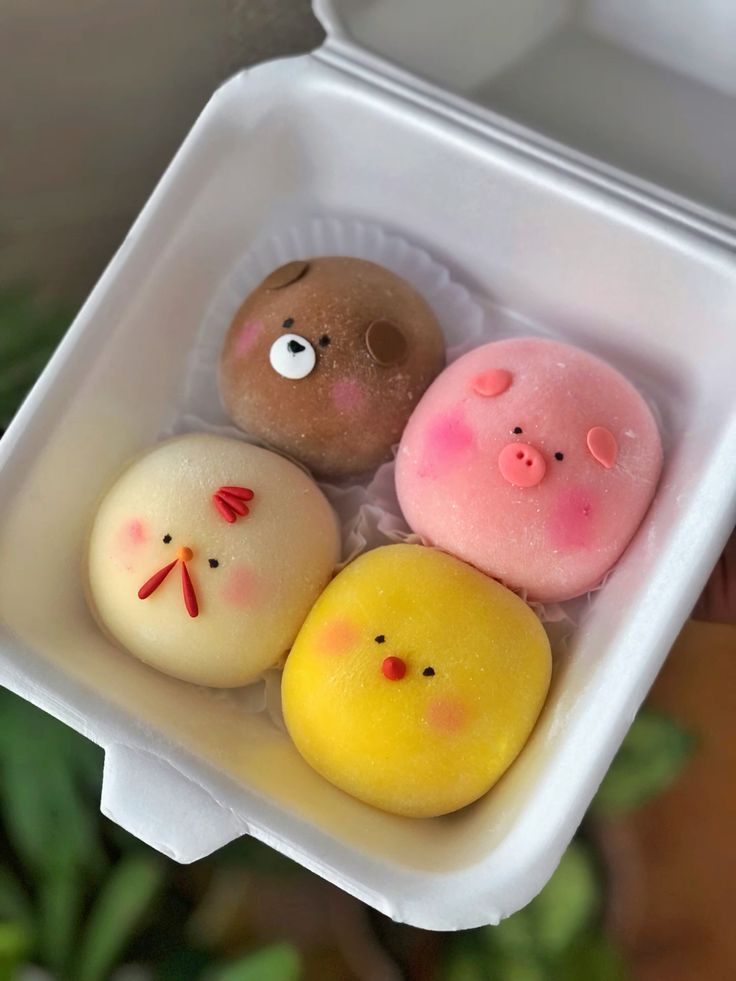
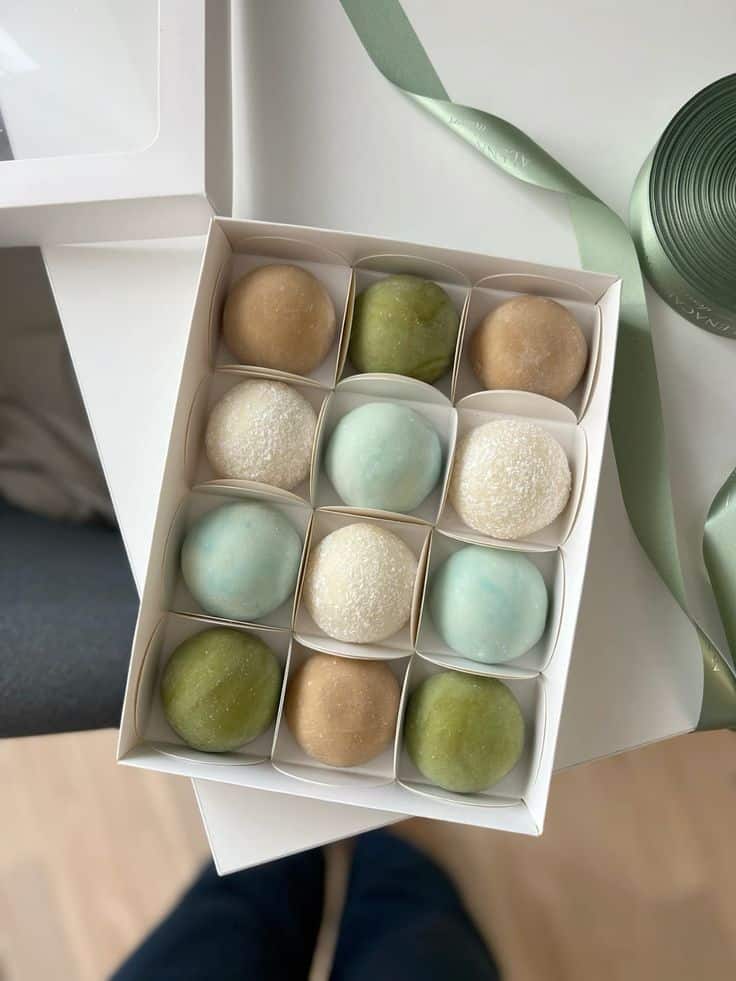
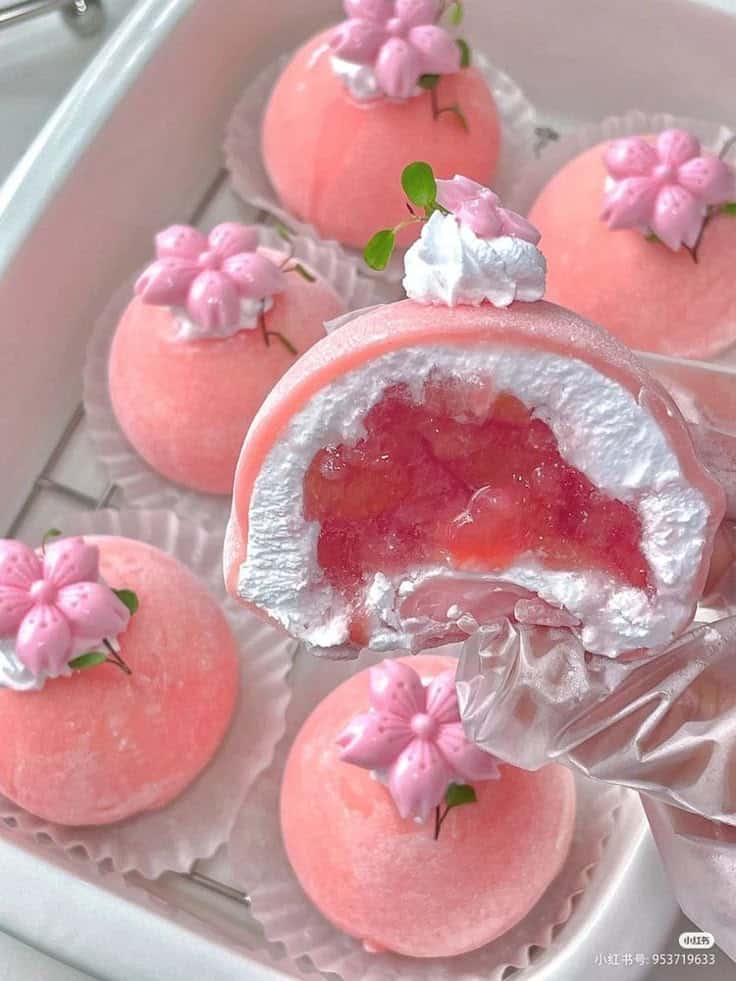
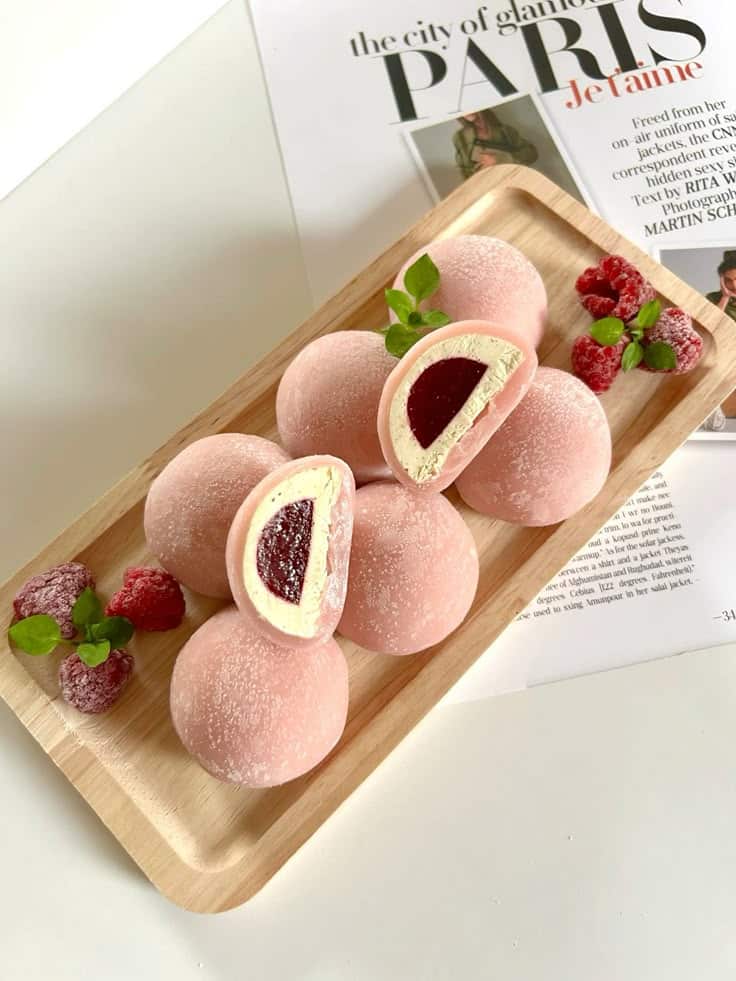
Mochi looks nice when arranged on simple plates with clean lines. Using parchment paper or decorative cupcake liners under each piece keeps them neat and prevents sticking.
When gifting, wrapping mochi in clear cellophane or placing it in a pretty box with ribbons adds a personal touch. Including a small note about mochi’s texture and best way to enjoy it makes the gift special.

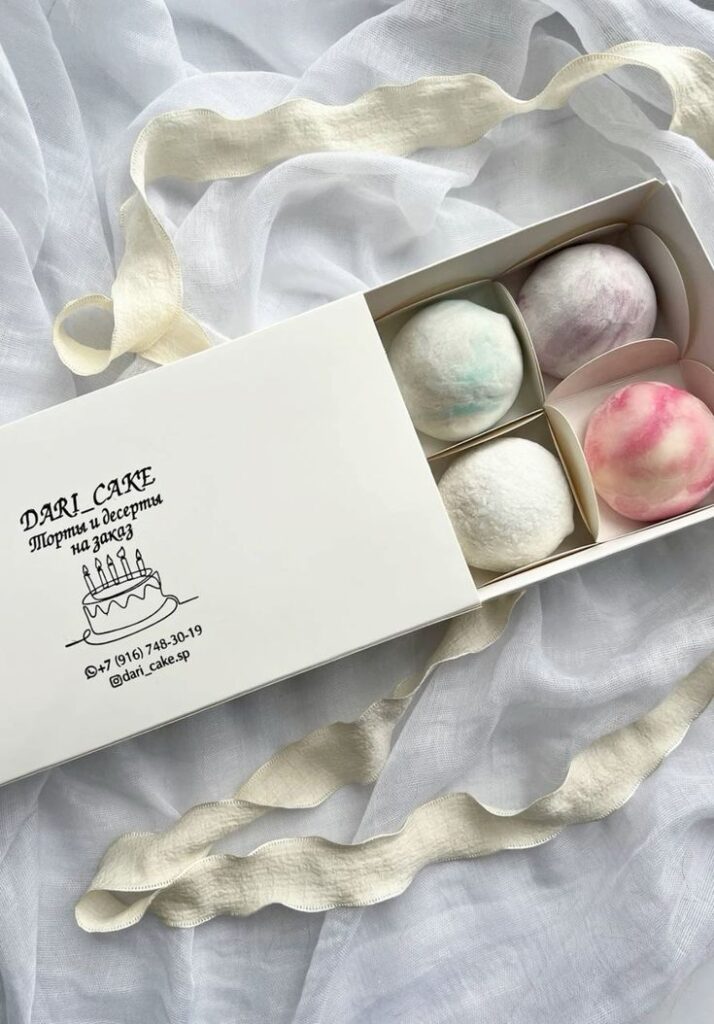
Using natural elements like small leaves or dried flowers in the packaging enhances the presentation and shows extra care.





This looks so amazing, can’t wait to try this at home 🤩🤩🤩