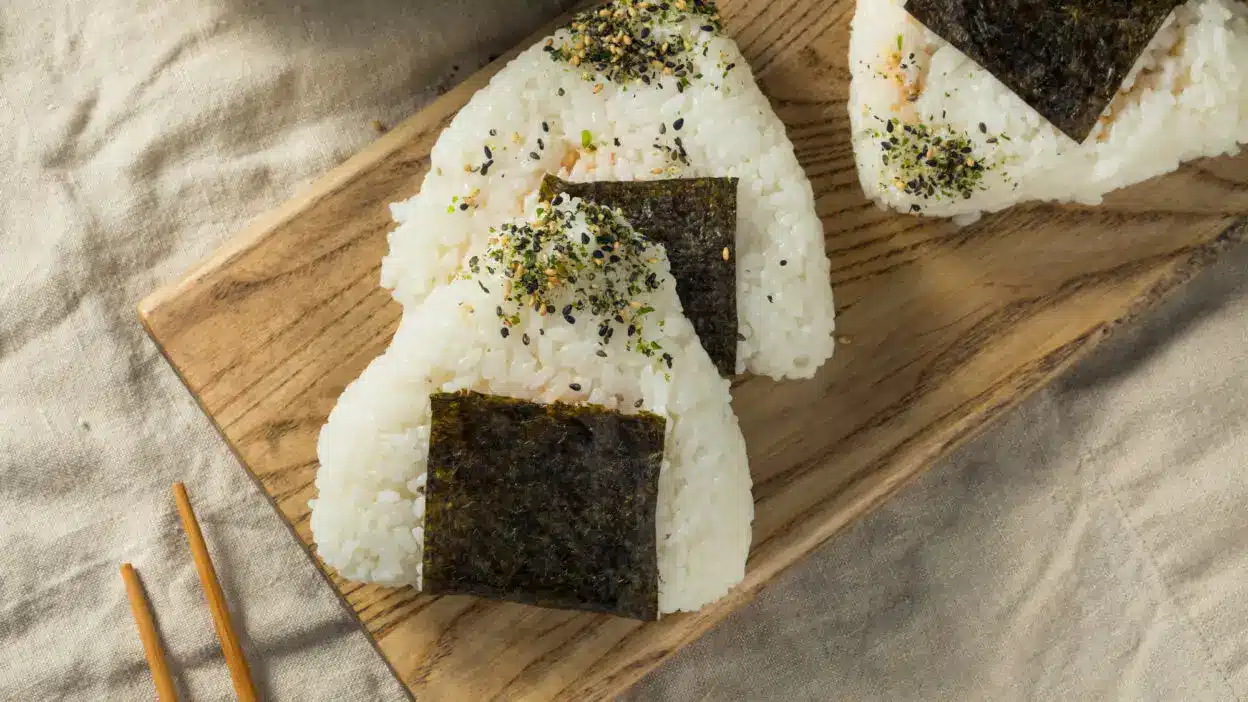
Onigiri, those delightful Japanese rice balls, are the perfect portable snack that combines simplicity with endless flavor possibilities. These hand-shaped treats can be formed into triangles, cylinders, or spheres, often wrapped with crisp nori seaweed that adds texture and makes them easier to handle.
Making onigiri requires just a few basic ingredients: short-grain Japanese rice, a pinch of salt, and your choice of fillings like bonito flakes, salmon, or pickled vegetables. The process is wonderfully straightforward – cook sticky rice, moisten your hands with salted water, shape the rice, and add fillings if desired.
What makes onigiri so special is their versatility and deep connection to Japanese culture. They’re perfect for lunch boxes, picnics, or quick meals on the go, offering a satisfying bite of comfort food that has sustained generations. Whether you prefer them simple with just a sprinkle of salt or filled with savory ingredients, these rice balls represent Japanese cuisine at its most accessible and delicious.
Getting to Know Onigiri
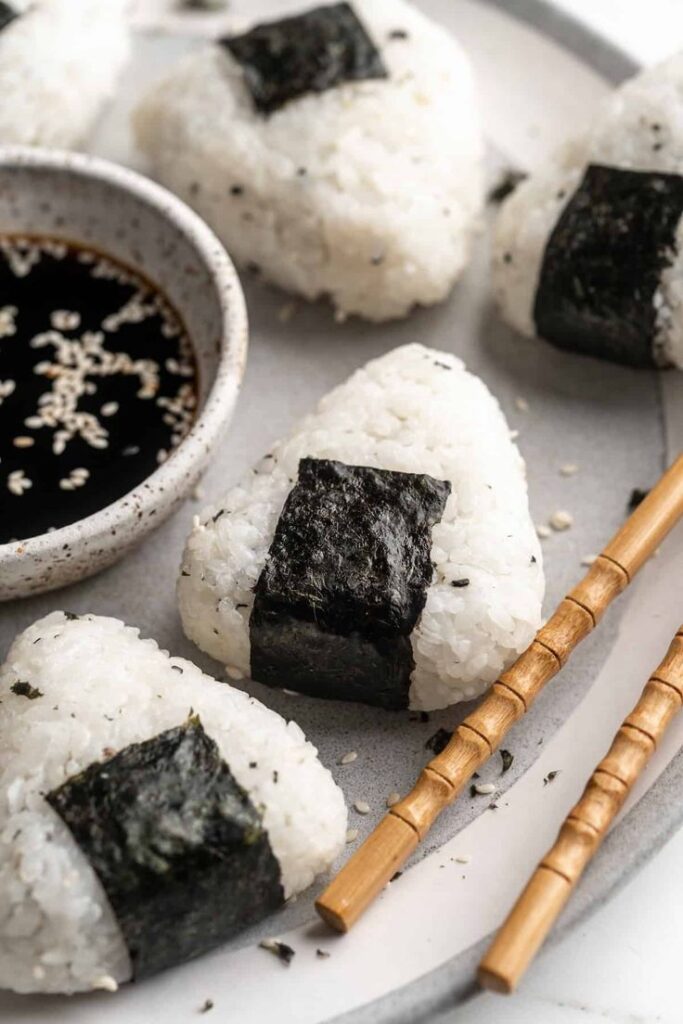
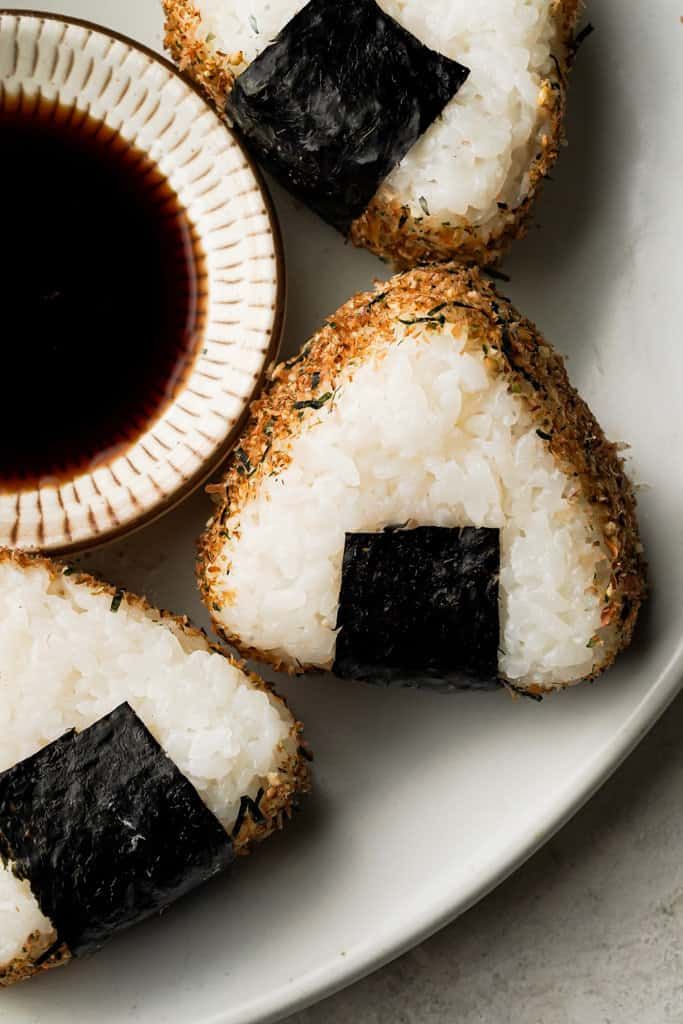
Onigiri, the beloved Japanese rice ball, has been a staple in Japanese cuisine for centuries, serving as both a practical meal and a cultural icon with numerous regional variations and fillings.
The History of Onigiri
Onigiri dates back to ancient Japan, around the Heian period (794-1185), when rice was first formed into portable portions for travelers, warriors, and farmers. These early versions were simply balls of rice seasoned with salt to preserve the rice and add flavor.
Salt was particularly important as it helped prevent spoilage in the days before refrigeration. Samurai warriors often carried onigiri as battlefield provisions because they were easy to transport and provided quick energy.
During the Edo period (1603-1868), nori (seaweed) began to be used as a wrapper, adding both flavor and a practical way to hold the rice without getting hands sticky. This innovation made onigiri even more convenient as a portable food.
Today, onigiri remains one of Japan’s most popular fast foods, available in convenience stores, restaurants, and homes throughout the country.
Varieties of Onigiri
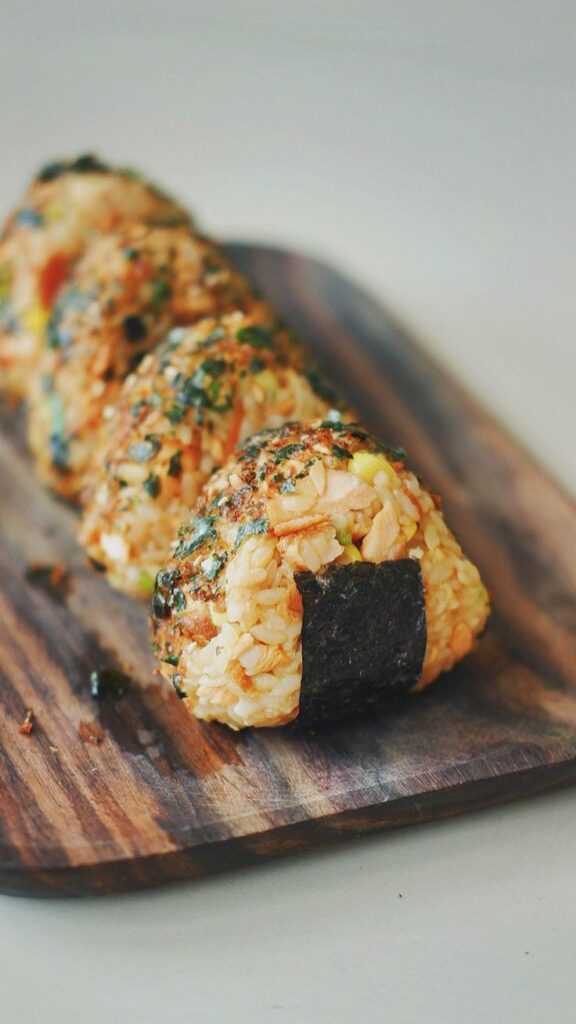
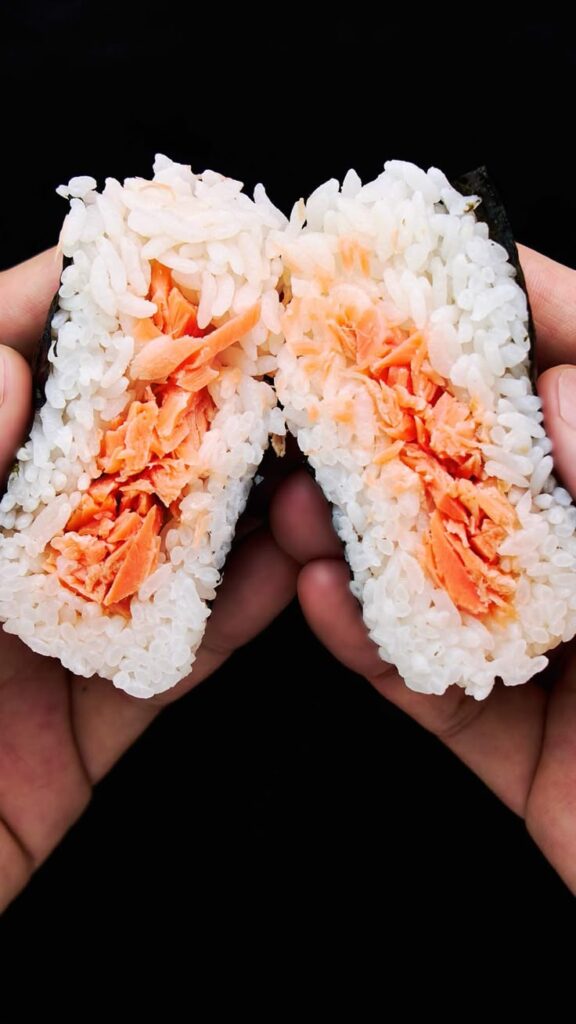
Onigiri comes in several shapes, with the triangle being the most recognized, though cylinder and round shapes are also common. What makes onigiri truly diverse are the fillings and seasonings used.
Popular traditional fillings include:
- Umeboshi (pickled plum)
- Sake (salmon)
- Katsuobushi (bonito flakes) with soy sauce
- Kombu (seasoned kelp)
- Tarako (salted cod roe)
Modern varieties have expanded to include tuna with mayonnaise, teriyaki chicken, and even curry. The rice itself can be plain with salt, mixed with furikake (Japanese seasoning), or flavored with ingredients like sesame seeds.
Regional variations exist throughout Japan, reflecting local specialties and tastes. Some regions wrap their onigiri in bamboo leaves instead of nori, while others use unique local ingredients as fillings.
Essential Ingredients
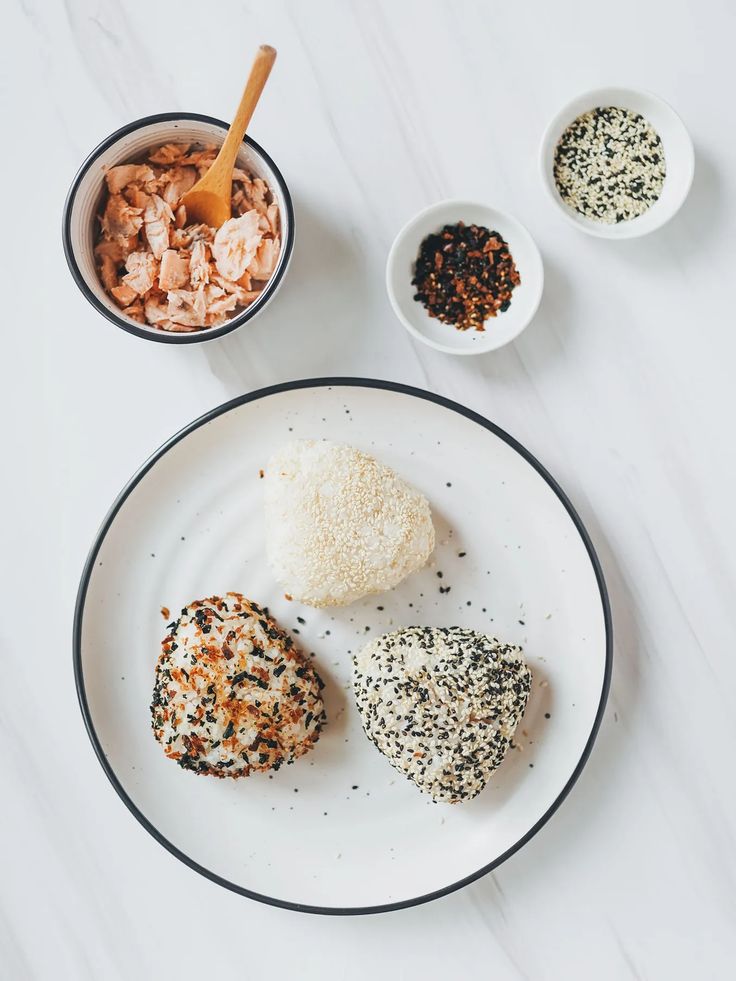
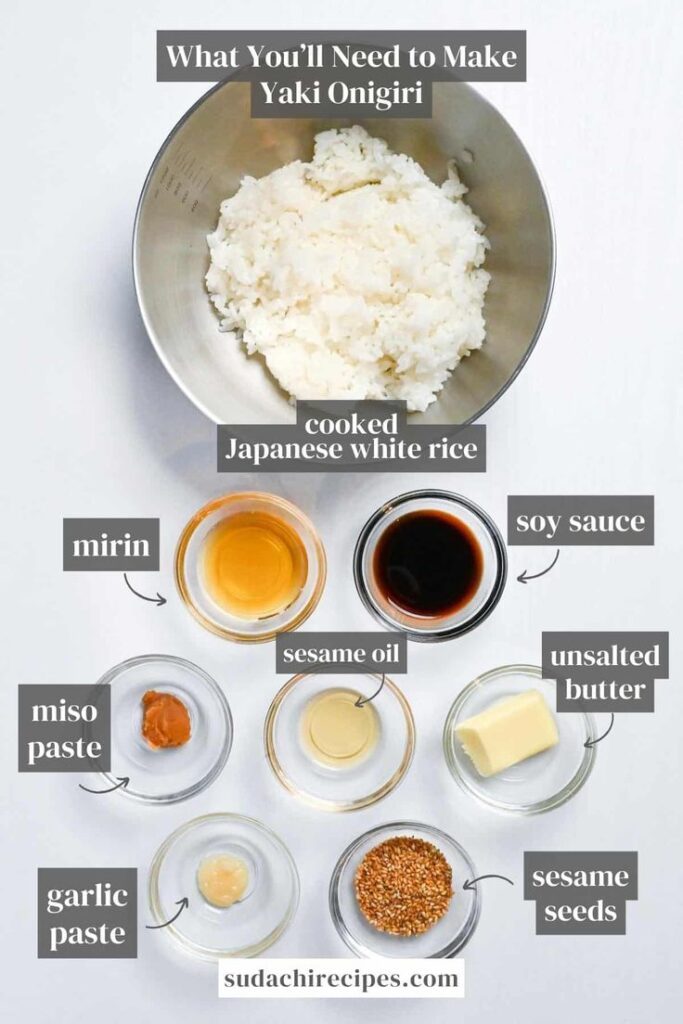
Creating authentic onigiri requires a few key ingredients that form the foundation of these delicious Japanese rice balls. The right rice and complementary fillings make all the difference in achieving the perfect texture and flavor.
Choosing the Right Rice
Short-grain white rice is essential for making proper onigiri. This variety contains more starch than other types, giving it the sticky quality needed to hold its shape. Japanese-style rice (sometimes labeled as sushi rice in Western markets) works best as it becomes cohesive when cooked.
To prepare the rice, rinse it thoroughly until the water runs clear to remove excess starch. Cook with slightly less water than usual for a firmer texture that’s easier to shape. The ratio is typically 5½ cups of water to 4 cups of uncooked rice, as mentioned in traditional recipes.
Salt is another crucial element for rice preparation. A small amount mixed into the cooking water enhances flavor and acts as a natural preservative.
Selecting Fillings and Seasonings
Fillings add flavor and interest to onigiri. Traditional options include salted salmon (shake), bonito flakes mixed with soy sauce, pickled plum (umeboshi), or tuna with mayonnaise. Salmon fillets can be prepared by cooking with a bit of sake and salt.
Furikake, a dry Japanese seasoning, offers a simple way to flavor onigiri. It typically contains seaweed, sesame seeds, dried fish, and other savory ingredients. About 50g of furikake can season 3 cups of cooked rice.
Nori (seaweed sheets) serves as both a wrapper and flavor enhancer. Fresh nori provides a crisp texture and helps keep hands clean when eating onigiri. Cut full sheets into smaller strips that wrap partially around the rice ball.
Seasonings like salt for the exterior are important too. Wet your hands with salted water before shaping the rice to prevent sticking and add flavor to the outer layer.
Crafting Your Onigiri
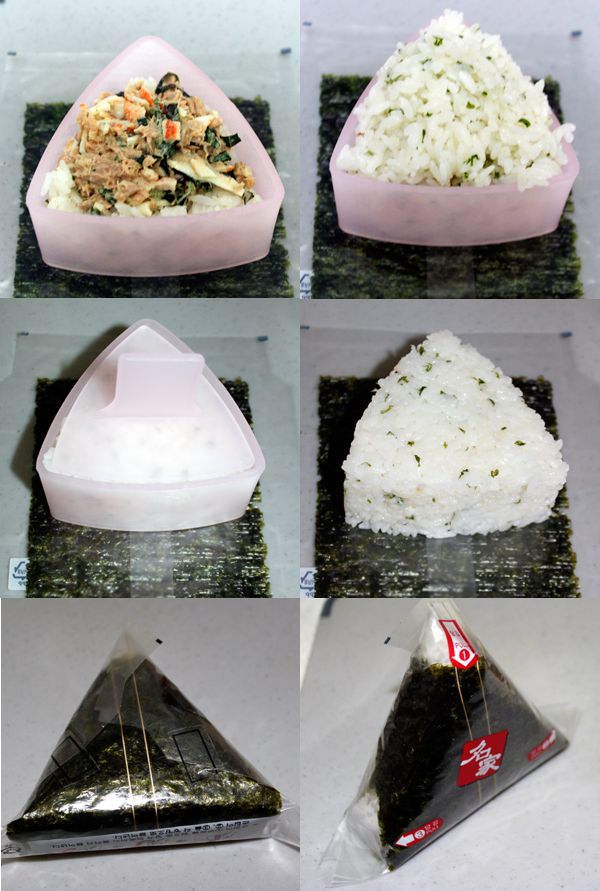
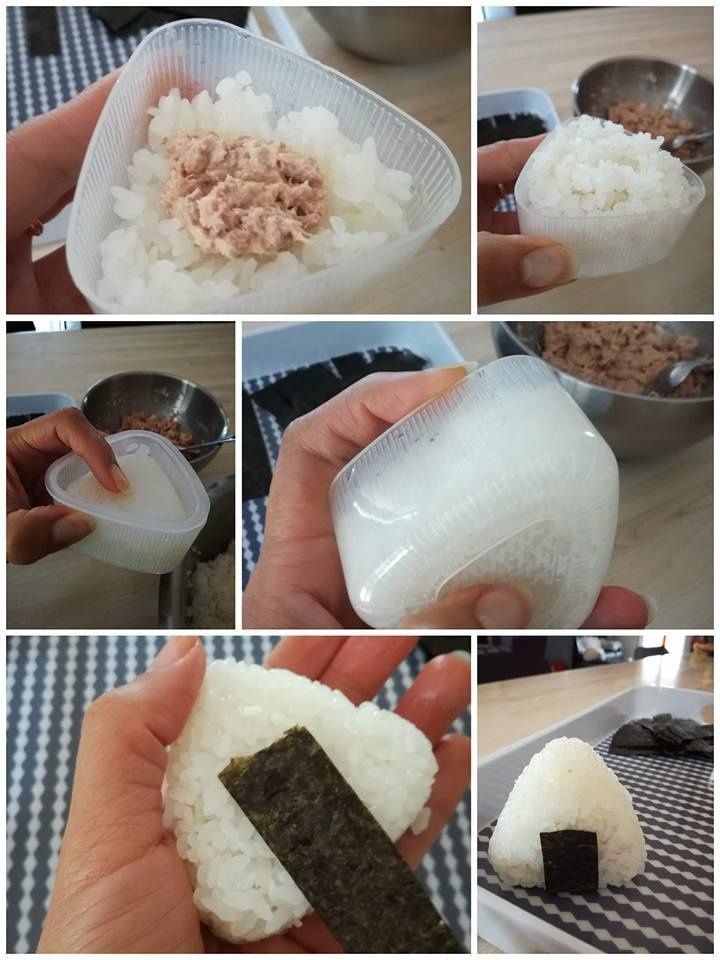
Onigiri is a versatile Japanese snack that combines simple ingredients with traditional techniques. The perfect onigiri balances proper rice consistency, skillful shaping, and thoughtful presentation.
Preparing the Rice
Proper rice preparation forms the foundation of delicious onigiri. Start with short-grain Japanese rice, often labeled as sushi rice, which has the right stickiness for shaping.
Cook the rice according to package instructions, then allow it to cool slightly before shaping. The rice should be warm but not hot enough to burn your hands. This warm temperature helps the rice grains stick together better.
Season the cooked rice lightly with salt, or mix in furikake (Japanese rice seasoning) for extra flavor. Some people prefer to keep the seasoning on the outside only, while others mix it throughout the rice.
A helpful tip: Keep a small bowl of water nearby to moisten your hands before handling the rice. This prevents sticking and makes the shaping process much easier.
Shaping Techniques
Start by wetting your hands with water and sprinkling them with a pinch of salt. This prevents sticking and adds subtle seasoning to the exterior of your onigiri.
Scoop about 1/3 to 1/2 cup of warm rice into your palm. For beginners, it’s easiest to first form a ball shape by gently cupping your hands and applying light, even pressure.
To create the traditional triangle shape, cup your right hand into a “C” shape, then use your left hand to form the three corners while rotating the rice. Don’t press too firmly or the rice will become dense and chewy.
For a round onigiri, simply continue to rotate the rice in your palms while maintaining gentle pressure. Many home cooks find this shape easier to master as a beginner.
Wrapping and Presentation
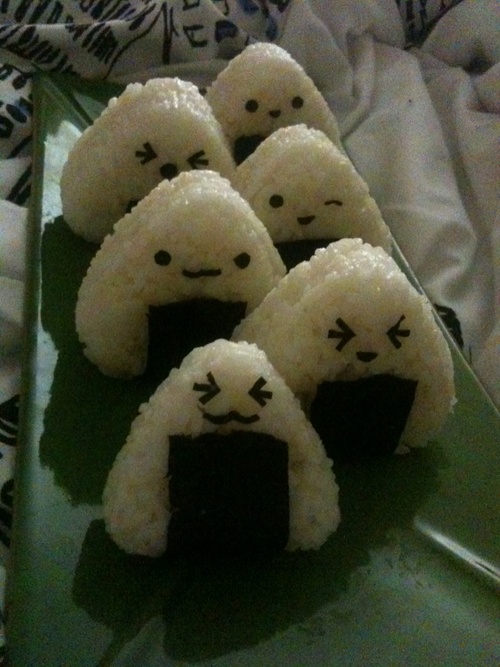
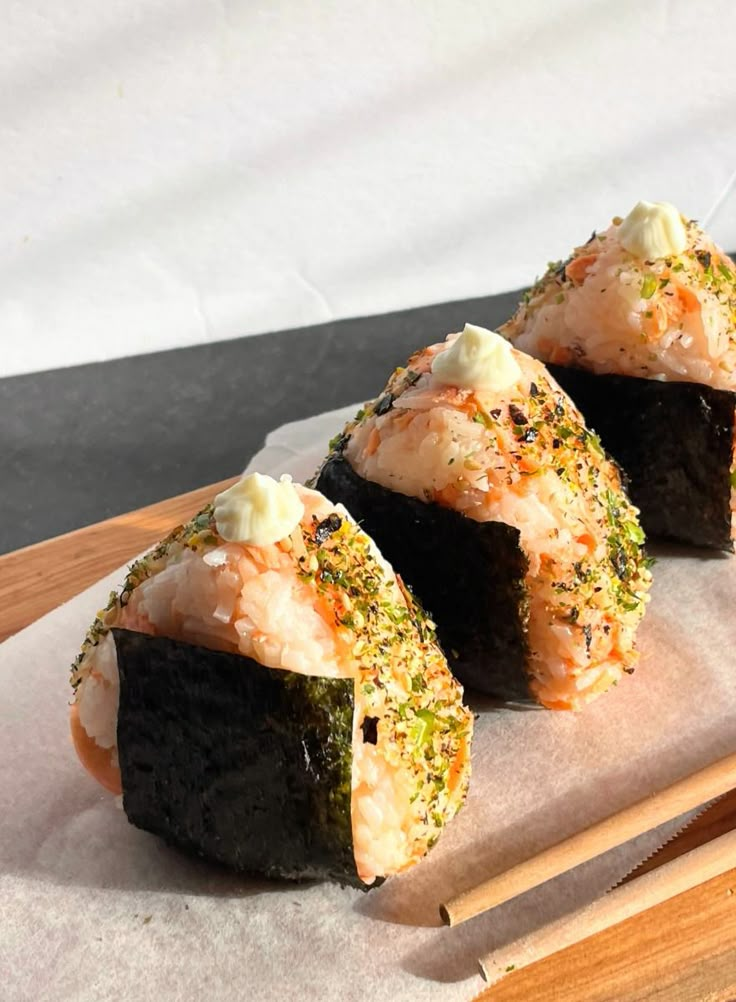
Nori (seaweed) is the traditional wrapper for onigiri, providing both flavor and a practical way to hold the rice ball. Cut nori sheets into strips about 2-3 inches wide for partial wrapping.
For the standard presentation, wrap a strip of nori around the bottom third of the onigiri, leaving the top exposed. This creates a handy grip area that prevents your hands from getting sticky.
Alternatively, wrap the entire onigiri in nori just before eating to maintain its crispness. Some modern variations include using small nori squares as decoration or creating a “pocket” of nori to tuck in fillings.
For packed lunches, individually wrap each onigiri in plastic wrap until ready to eat. This helps maintain moisture and prevents the rice from drying out or hardening.
Serving and Enjoying Onigiri
Onigiri is best enjoyed fresh, though it can be prepared ahead of time for convenient meals. These versatile rice balls can be served in various settings, from casual lunches to picnics.
Pairing With Side Dishes
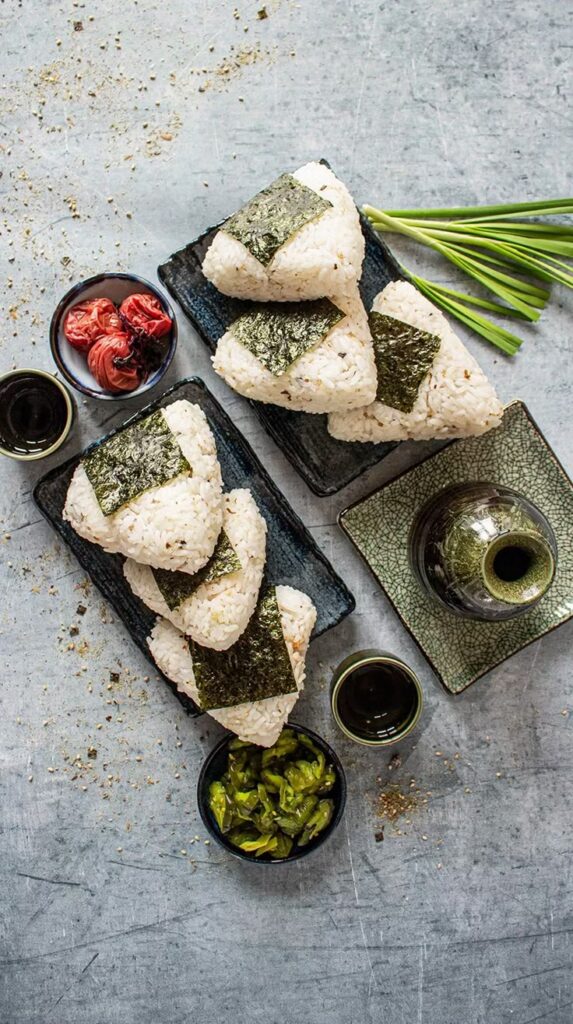
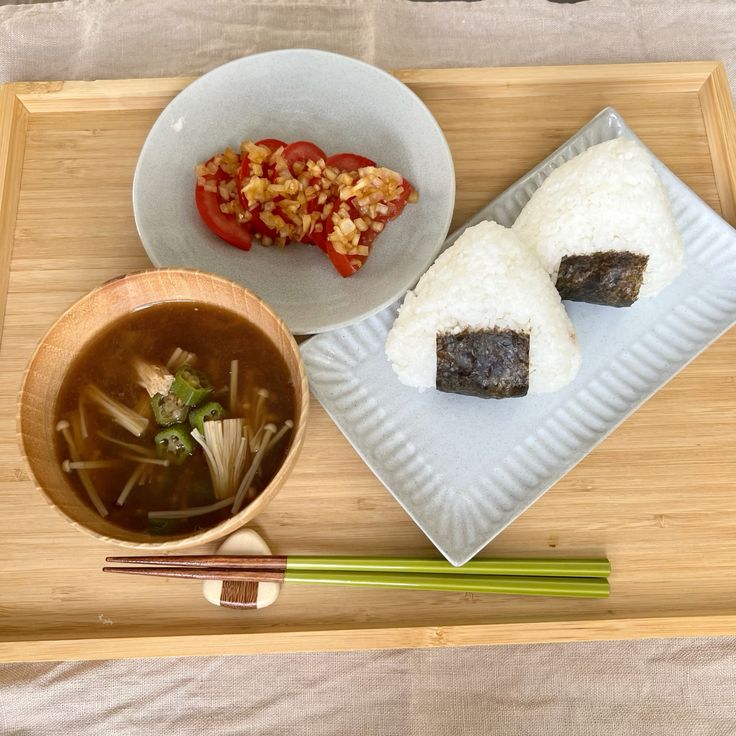
Onigiri works wonderfully with traditional Japanese side dishes like miso soup, which provides a warm, umami contrast to the rice. A small bowl of tsukemono (Japanese pickles) adds a tangy crunch that complements the mild flavor of the rice balls.
For a complete meal, consider serving onigiri with:
- Steamed or stir-fried vegetables
- Grilled fish or chicken skewers
- Edamame beans sprinkled with sea salt
- Cucumber salad with rice vinegar dressing
Many Japanese families enjoy onigiri with a side of green tea or barley tea. The mild, earthy flavors of these teas help cleanse the palate between bites.
During summer months, cold sides like chilled tofu or seaweed salad make refreshing accompaniments to room-temperature onigiri.
Storing Leftovers
Properly stored onigiri can remain fresh for up to 24 hours. Wrap each rice ball individually in plastic wrap to prevent drying. If using nori (seaweed), store it separately and wrap it around the onigiri just before eating to maintain its crispness.
For longer storage, place wrapped onigiri in an airtight container in the refrigerator. Cold rice tends to harden, so bring refrigerated onigiri to room temperature before eating for the best texture.
Freezing is also an option for meal prep. Wrap each onigiri tightly in plastic wrap and place in a freezer bag. Frozen onigiri can last up to a month.
To reheat, remove the plastic wrap and microwave for 1-2 minutes or until heated through. Alternatively, wrap in foil and warm in a 350°F (175°C) oven for about 10 minutes.
